
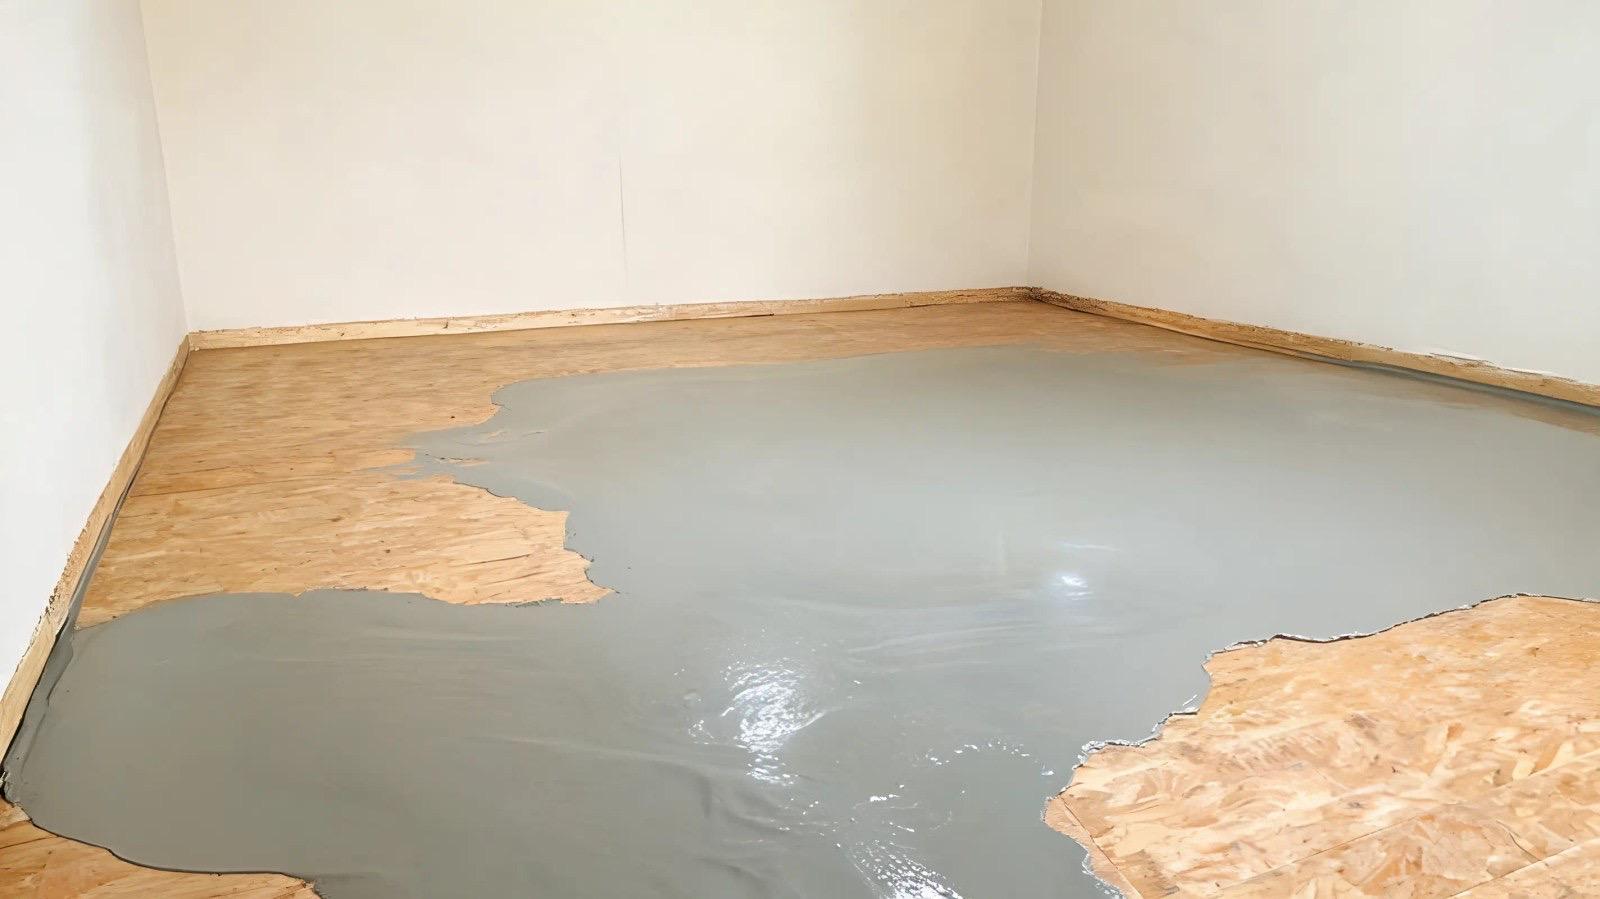
Self-leveling concrete is a liquid compound that flows out flat on its own. You use it to fix an uneven subfloor before new flooring goes down on top.
Sounds simple. Mix it, pour it, done. But the prep is what decides whether that floor comes out flat or lumpy, not the pour itself.
Here's the sequence, bare floor to cured surface.
The 3-Stage Process for Using Self Leveling Concrete, Start to Finish
Three stages. Prep the floor, mix and pour, let it cure.
Skip the prep and even a clean pour won't save you. I've watched guys jump straight to mixing because the pour feels like the real job. It isn't. Most self-leveling failures trace back to a floor that never got cleaned or primed right in the first place.
What You'll Need
Lay everything out before you mix anything. Once that first bucket's going, you don't have time to go hunting for a tool.
- Self-leveling compound – check the bag for coverage per square foot and thickness rating.
- Primer – matched to your subfloor, concrete or wood.
- Two 5-gallon buckets – one to mix, one to pour, so you're not stopping between batches.
- Heavy-duty drill with a mixing paddle – a regular drill will burn out on this mix.
- Gauge rake, smoothing trowel, or squeegee – for working the compound into corners.
- Spiked roller – pops air bubbles, knocks down ridges.
- Paint roller or brush – for the primer.
- Caulk, spray foam, or wood dams– seal gaps, doorways, drains.
- Floor scraper, vacuum, or grinder– cleaning and surface prep.
- Concrete patch compound – fill deep cracks or holes before you prime.
Get it all in the room first. A missing tool mid-pour can cost you the whole batch.
Stage 1: Prepare and Prime the Floor
This stage takes the longest, and it's the one that actually decides your result.
Clean and Repair the Floor
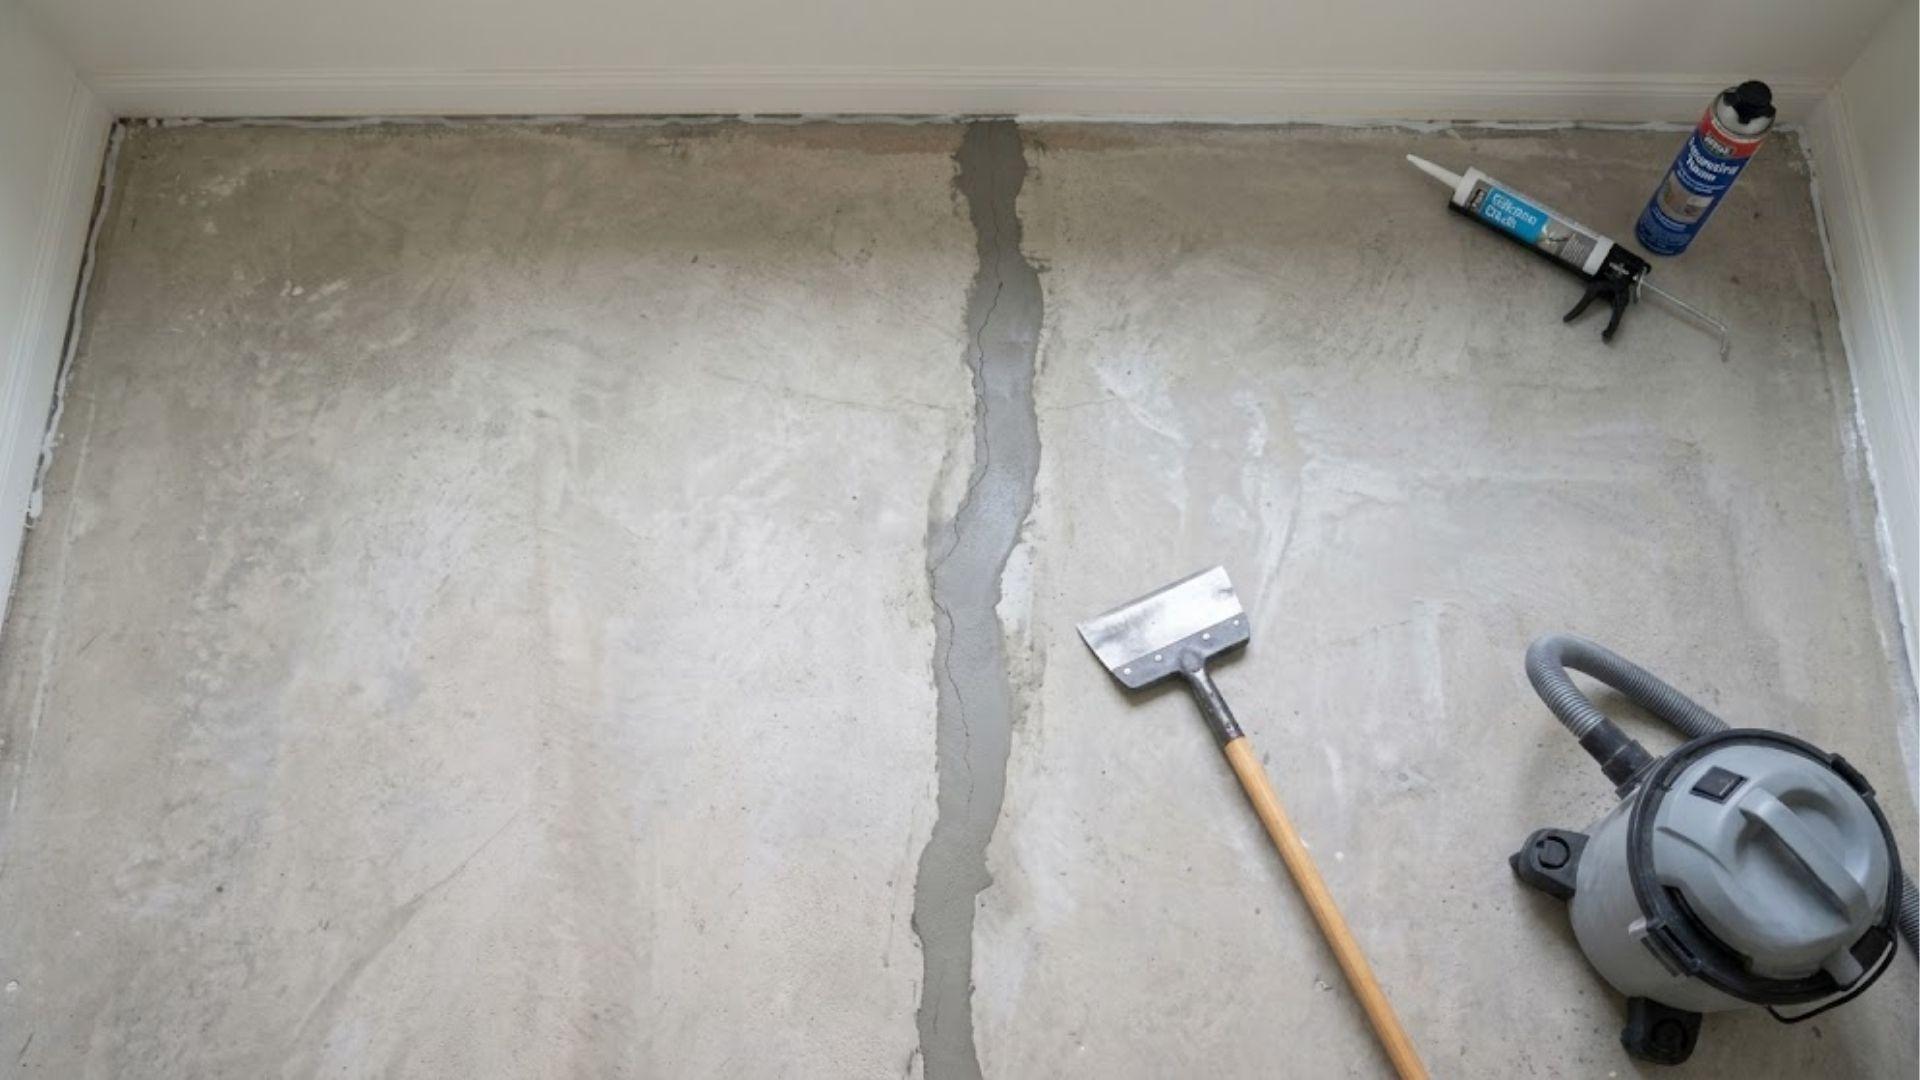
Sweep and vacuum it completely. Dust, dirt, wax, grease, all of it. Anything left behind stops the compound from bonding.
Patch deep holes and cracks before you go any further. Then seal every crack, every gap around a pipe, every doorway, with caulk or spray foam. You don't want that liquid leveler finding its way into the next room.
Prime the Subfloor
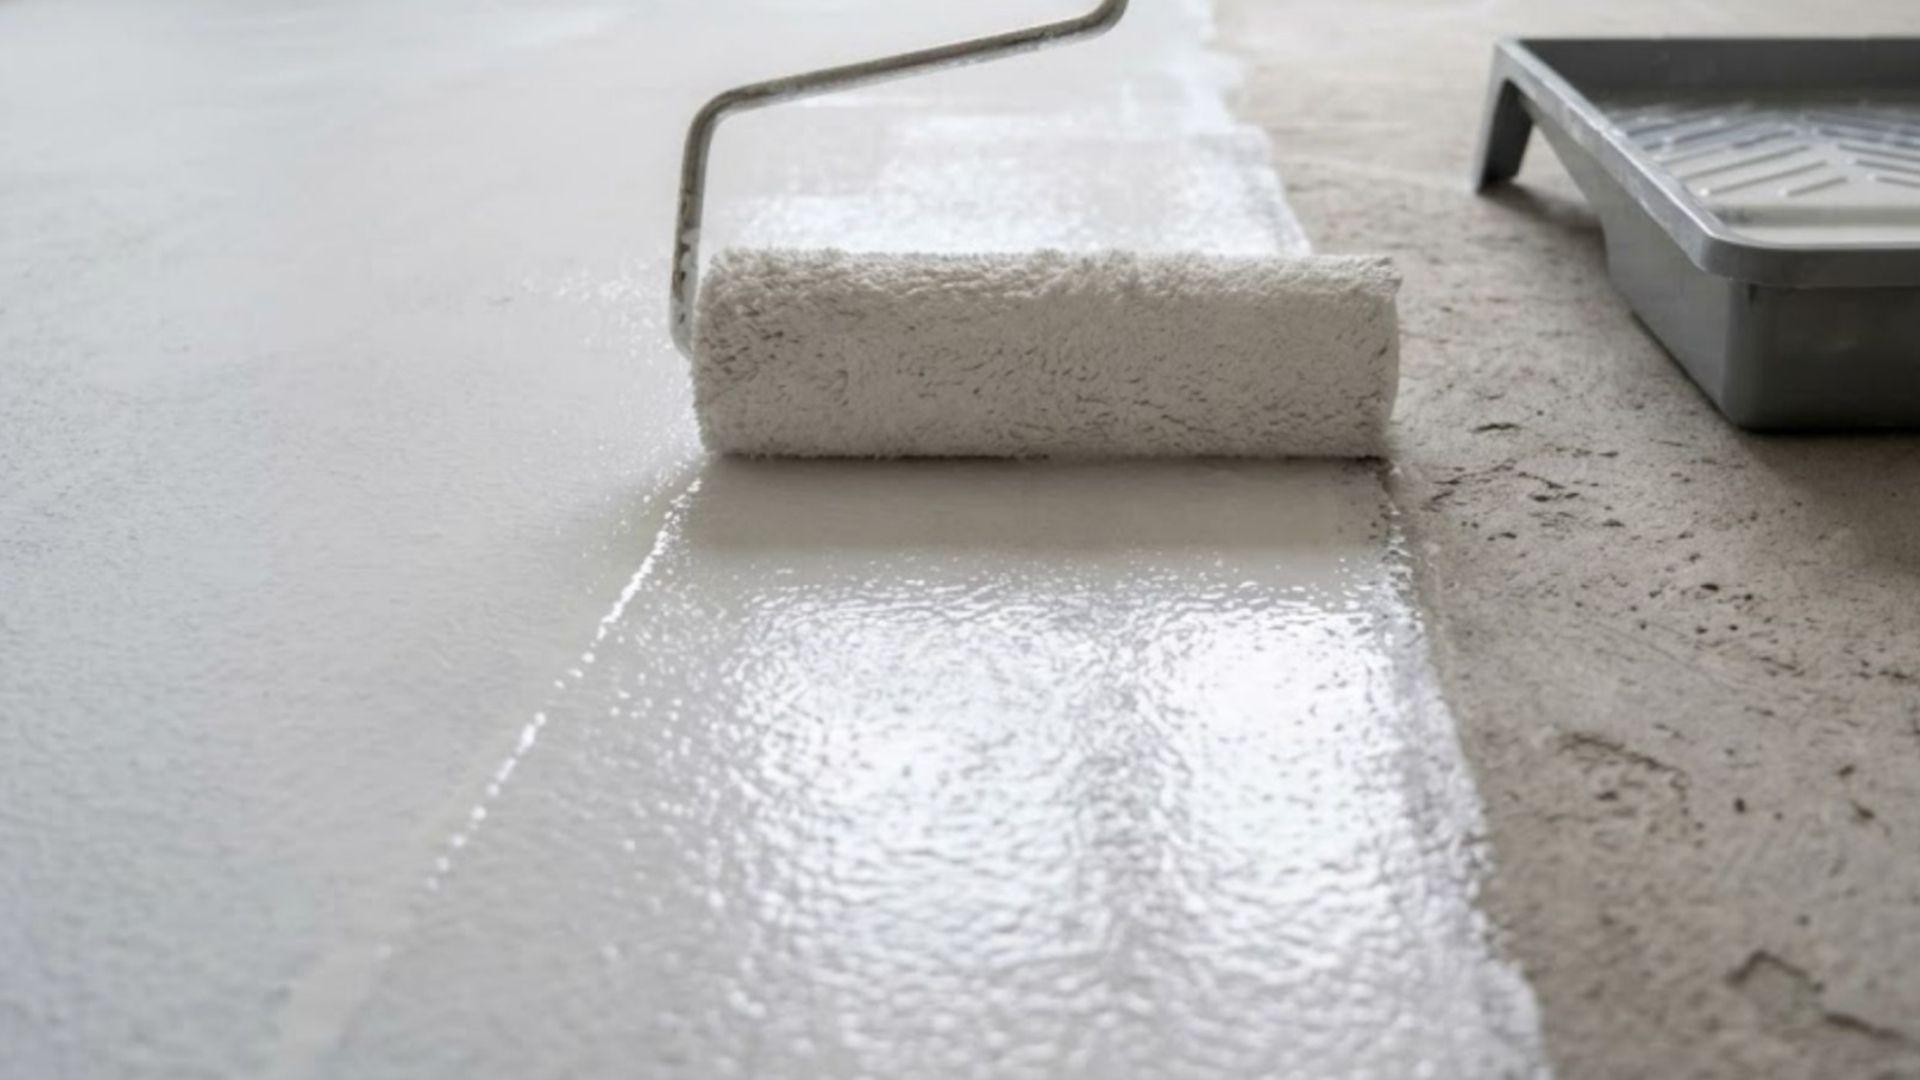
The primer's not just there for stick. Its real job is slowing down how fast your subfloor pulls moisture out of the wet mix.
Pull that moisture too fast and the compound sets unevenly before it gets the chance to level itself. That's where a lot of lumpy pours start, right there.
How you prime depends on what's underneath you.
Concrete slabs are porous. Dilute the primer with water, usually 1:1 or 1:3 depending on the product, check the label, since ratios vary by brand and roll it on even so it soaks in instead of sitting on top.
Wood subfloors are a different job. Use an undiluted, full-strength primer, since wood doesn't absorb moisture the way concrete does.
Wood also flexes a little under weight, so check the label for a flexible primer rated for wood. A rigid one can crack and separate off the subfloor over time.
Let the primer dry all the way before you pour. Usually 2 to 5 hours, depending on the product. Pouring over wet primer is a headache you don't need on your first go.
Stage 2: Mix and Pour the Compound
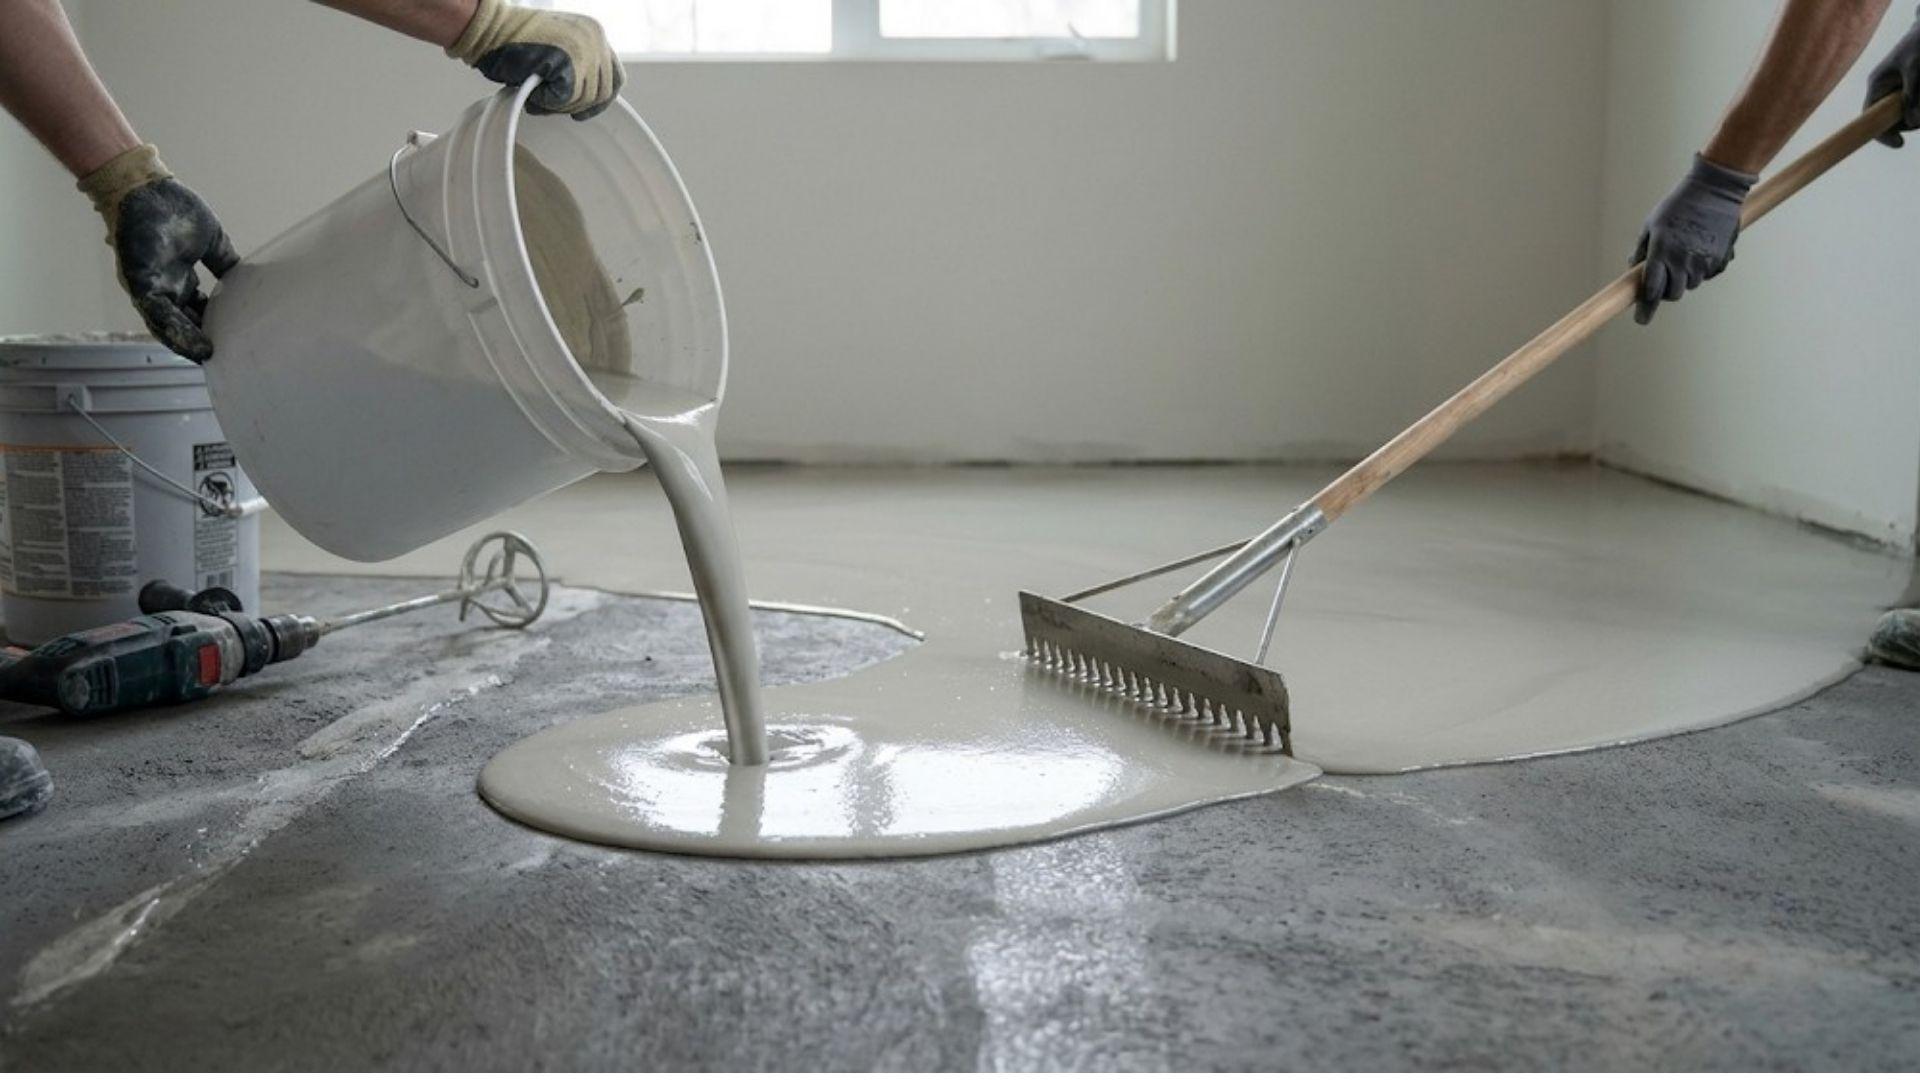
Once the floor's prepped, this part moves fast. Have everything ready before you start.
Mix the Self-Leveling Concrete
Water first, dry mix second. Measure clean, cool water into the bucket before you add the powder. Water first keeps dry clumps from settling at the bottom.
Blend it with the drill and paddle for the exact time listed on the bag. Mix your next bucket ahead so the pour keeps moving.
Pour and Spread the Mixture
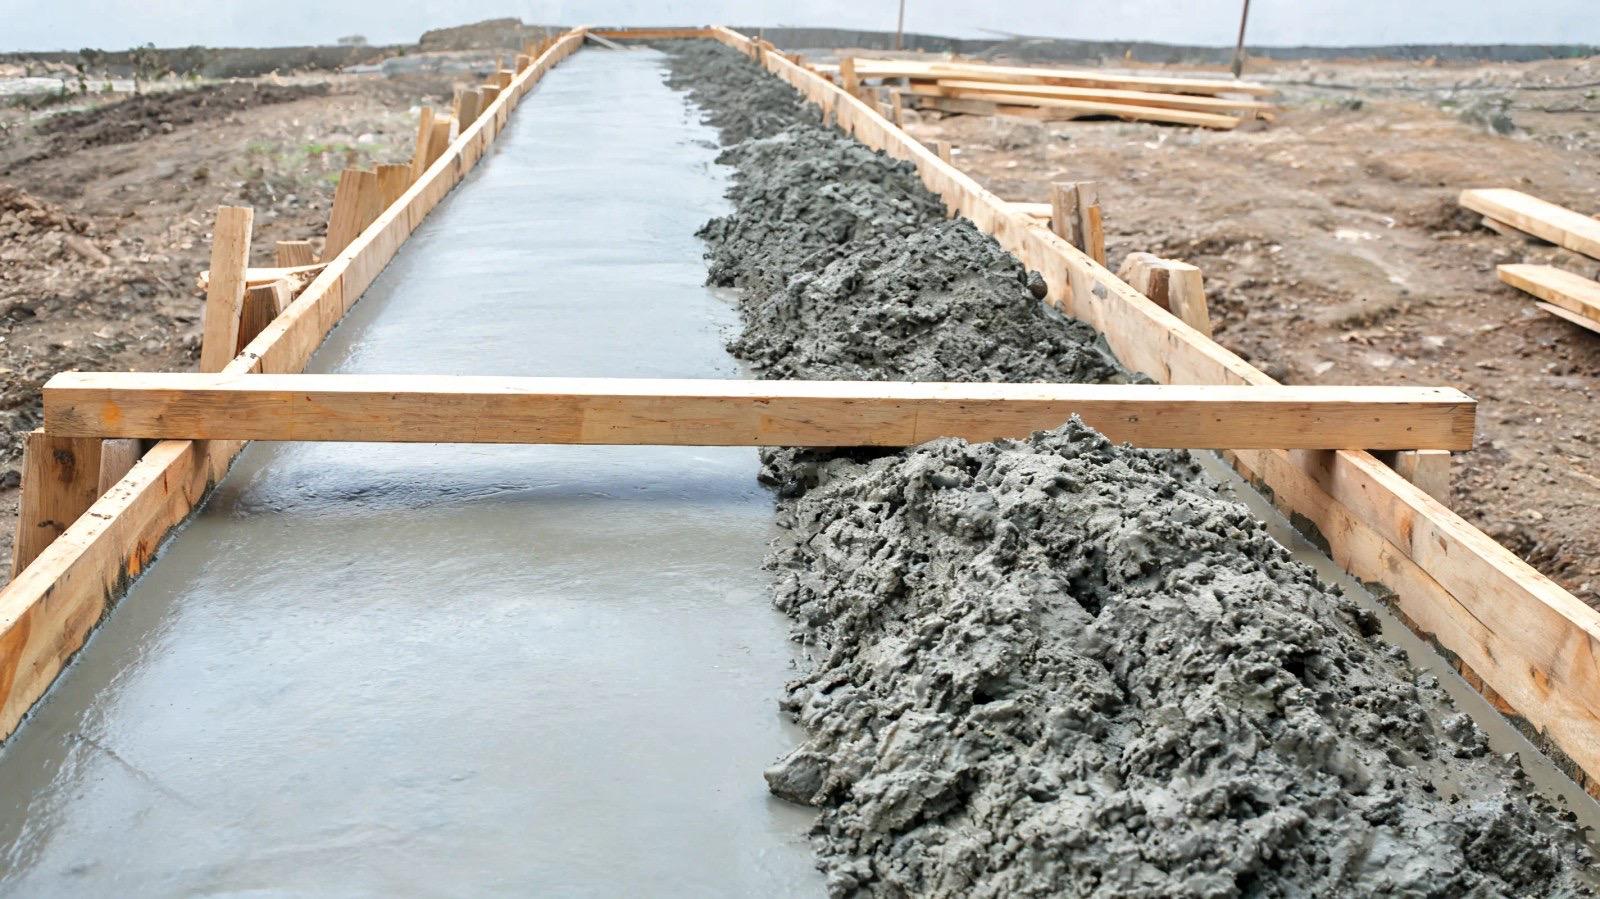
Start at the lowest point in the room, work toward the exit. That keeps you from pouring yourself into a corner.
Use the gauge rake, trowel, or squeegee to guide it into corners. Keep a wet edge going between batches.
That wet-edge rule isn't a nice-to-have. This stuff starts setting within 15 to 20 minutes of mixing. Cross that window and the next batch won't bond right to the one before it.
You'll get a seam, visible and weak, even under the flooring on top. That's why a helper and smaller batches matter more than people think.
Once it's down, run the spiked roller across it gently. Pops the trapped air, smooths out ridges, before it sets up on you.
Check the bag for max pour depth before you start, too. Go thicker than that in one pass and the compound can crack or cure unevenly instead of setting flat. Get a low spot deeper than the limit, pour it in two passes, let the first one set up before you go back over it.
Stage 3: Cure and Verify the Floor
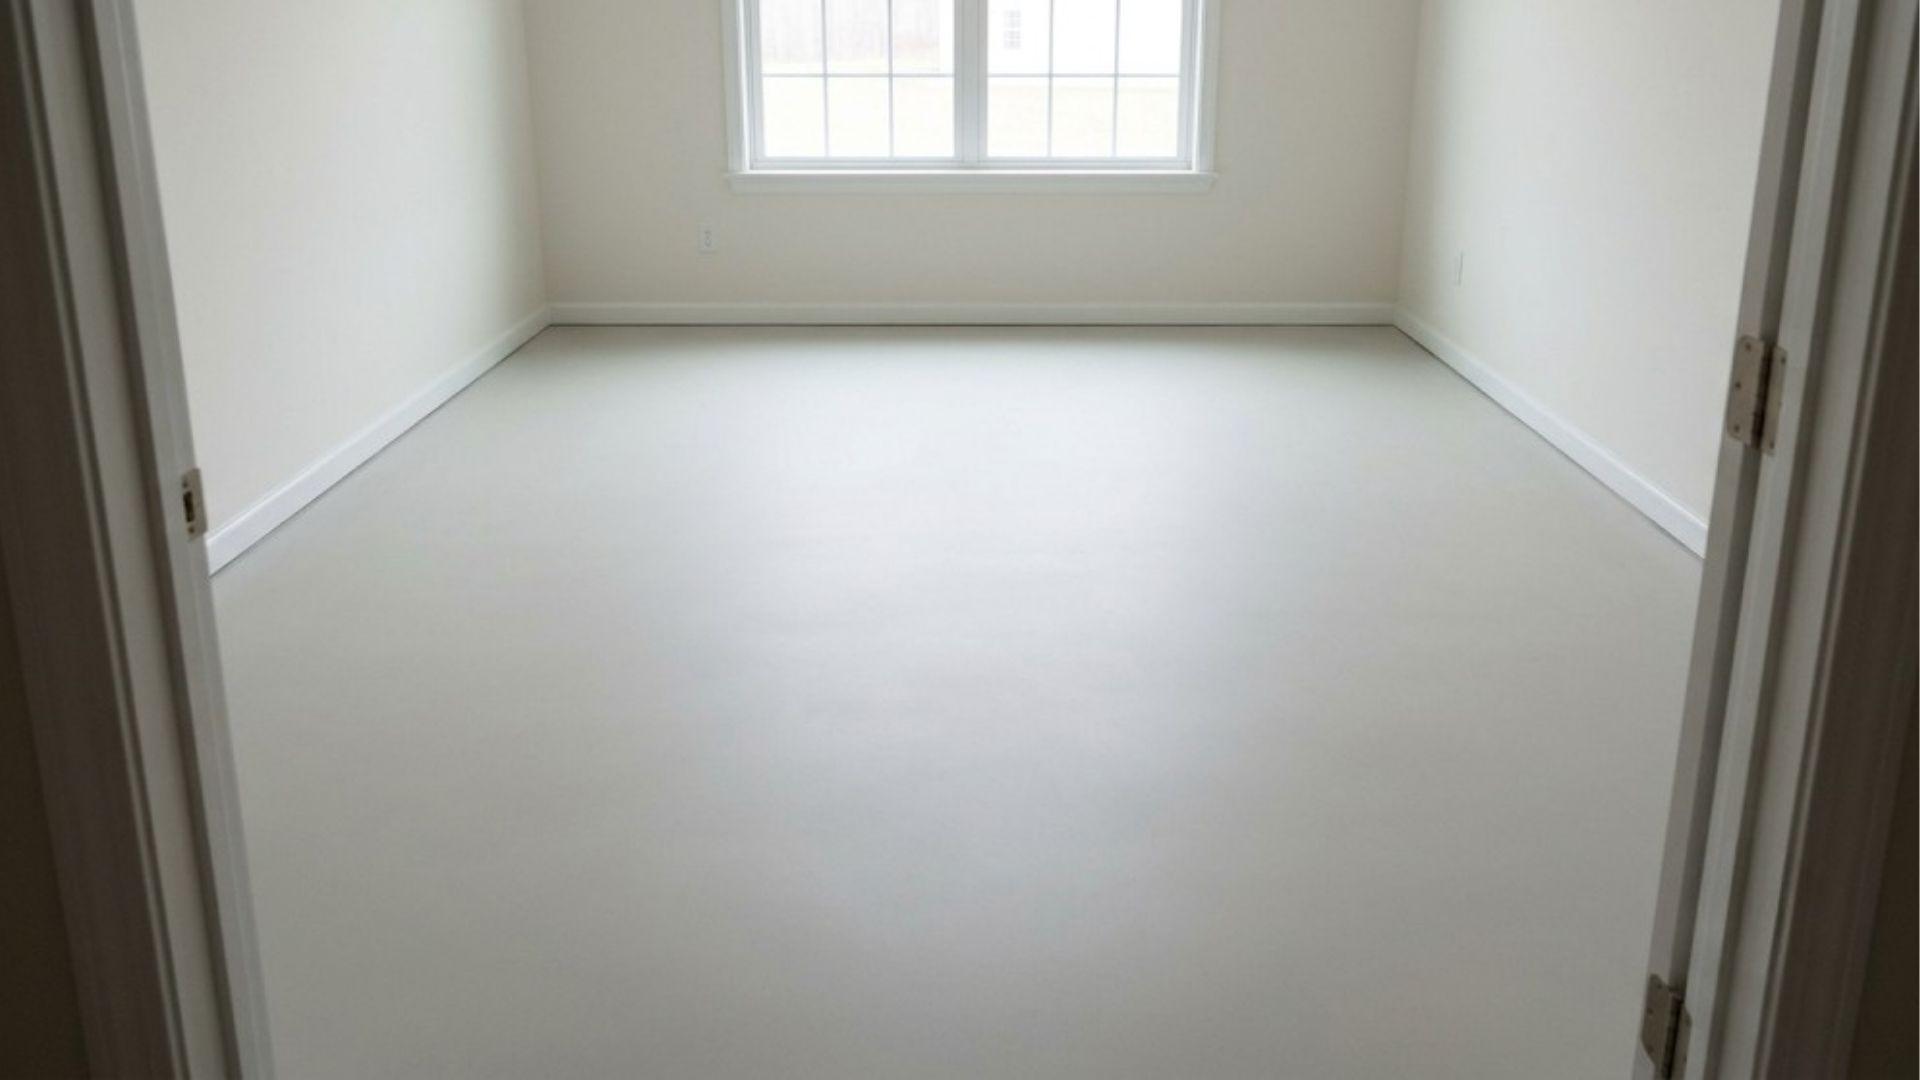
The pour's not the finish line. What happens over the next day matters just as much.
Keep foot traffic off it for at least 4 hours, or whatever the label says. Rush that and you'll find footprints and dents in what would've been a clean pour.
Cure time before flooring goes down isn't a flat 24 hours across the board. Depends on how thick you poured.
Standard pour, wait at least 24 hours before tile, vinyl, or laminate goes down.
Thicker than 3/8 inch (about 10mm), wait longer. A thicker layer holds moisture longer.
Install too soon and that moisture's trapped under a finish that was never built to handle it. Tile loosens, laminate swells, vinyl bubbles up months later.
Where Self-Leveling Pours Go Wrong
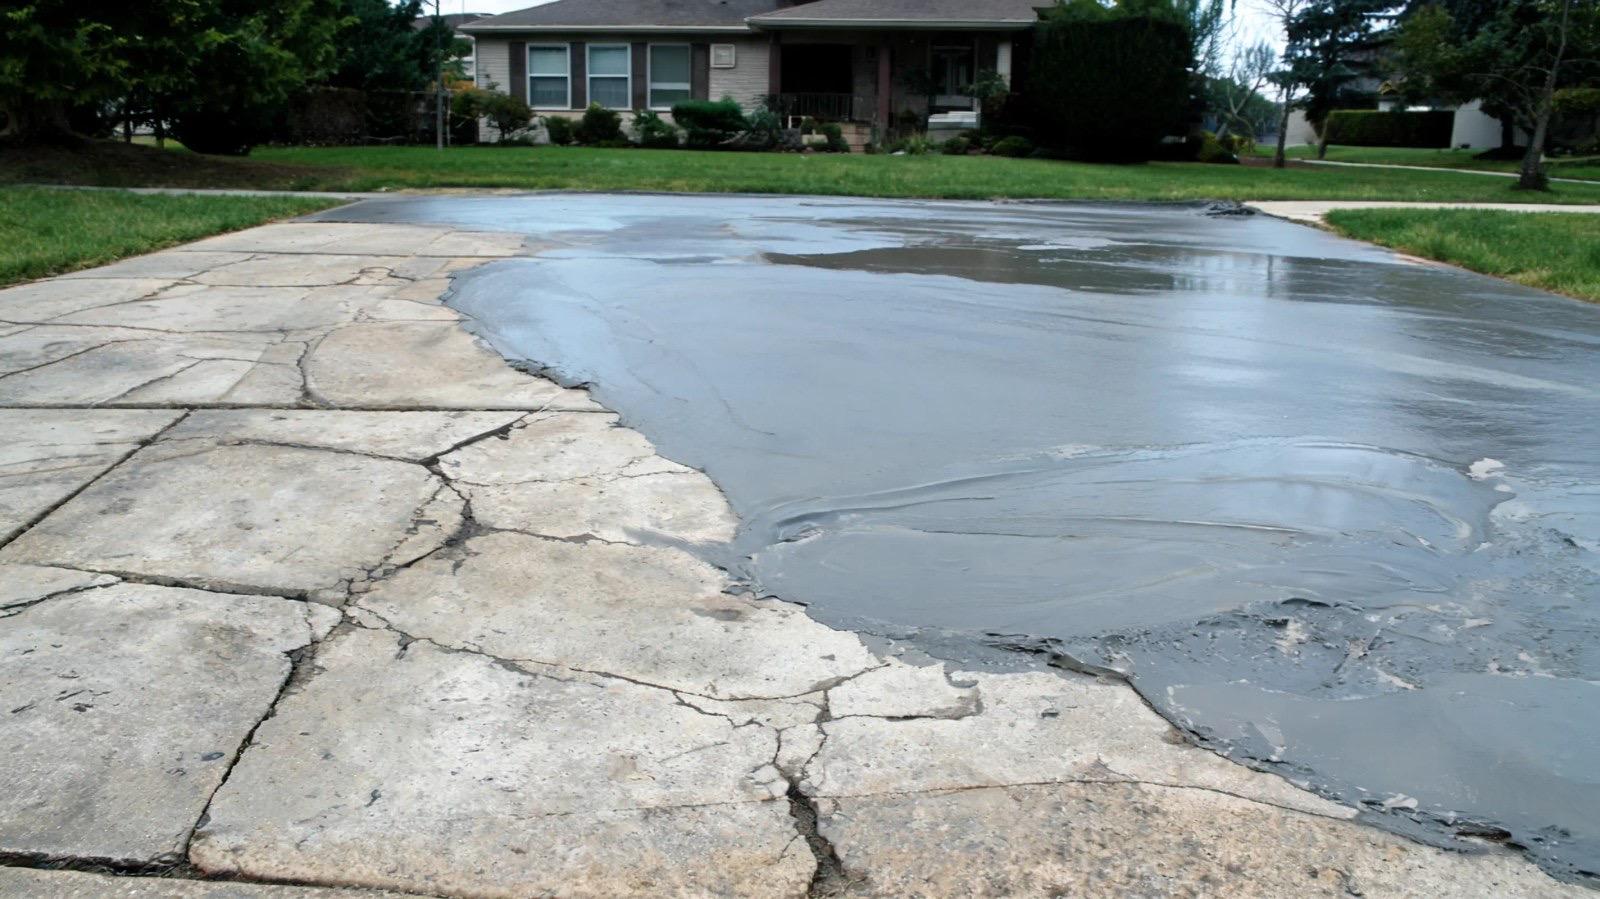
Self-leveling concrete flattens a surface. It doesn't fix what's underneath it.
Structural cracks come back. Cracks from a slab shifting or settling, it'll crack again in the same spot once that movement keeps going.
Fresh concrete's not ready for it. New concrete needs a full cure, around 28 days, before you put a leveler on top. Pour too soon and trapped moisture keeps the two layers from bonding right.
Skip the roller, and you'll see it later. Air bubbles trapped in the mix don't just disappear, they surface as small dimples once the floor dries out.
Get any of that going on, deal with it before you open a bag of self-leveler. It's a finishing step. Not a repair for what's underneath.
The Bottom Line
That’s the whole method, really: clean, repair, prime, then mix and pour without stopping.
Skip a step in that order and the compound shows you exactly where, usually a few weeks after the flooring’s already down.
Frequently Asked Questions
Can You Pour Self-Leveling Concrete Over Existing Concrete?
Yes. It’s built to go over existing concrete subfloors. The old surface needs to be clean, structurally sound, and primed first. This is different from pouring a new structural slab over an old one, a self-leveler is a thin topping for evening out a floor, not a load-bearing layer.
Can You Put a Self-Leveler on Fresh Concrete?
No, not until it's fully cured, typically 28 days minimum. Pour over concrete that hasn't cured and you trap moisture that'll mess with the bond and the set.
Can You Just Pour Self-Leveling Concrete?
No. Pour it straight onto an unprepped floor and it usually goes bad. Clean, patch, seal, and prime first, or the compound won't bond or level right.
What Do You Put Down Before Self-Leveling Concrete?
Clean the subfloor all the way, patch any cracks or holes, then apply a primer matched to your subfloor and let it dry fully. Skip the primer and that's probably why your pour didn't bond.