
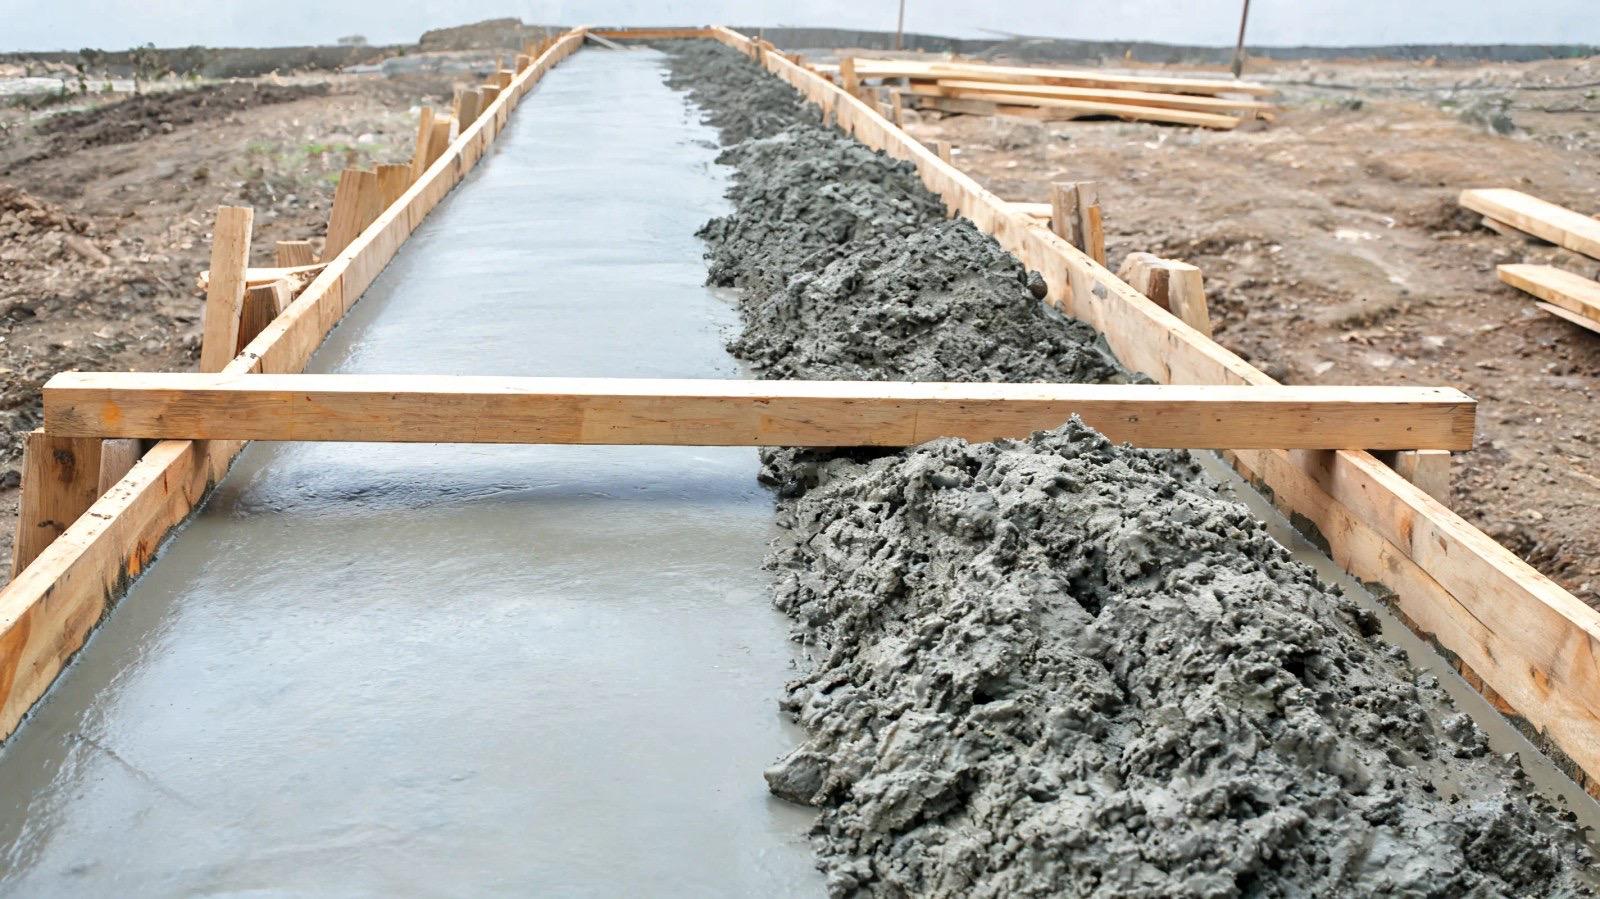
A lot of people think pouring a slab is just mixing concrete and dumping it in a hole. It’s not. That’s how you end up with a slab that cracks before the first winter’s out.
Most of the work happens before the truck ever shows up. The base, the forms, the rebar, that’s what decides whether this thing holds up or not.
So here’s the actual process, start to finish, in the order it has to happen.
How to Pour a Concrete Slab, Step by Step
A slab pour breaks into four stages: prep the site, pour and level, finish the surface, then cure it. Eight steps total. Skip one or rush it, and the slab pays for that later, every time.
I’ve seen guys skip straight to pouring because prep feels like it’s eating the clock. It never is. A slab is only as good as what’s underneath it, and that part doesn’t show once the concrete’s down.
This is the stage that decides whether the slab stays flat or starts cracking inside a year.
Get your tools and materials staged before you start. Running to the supply house mid-pour is how you end up with a weak, rushed slab.
- Stakes and string line
- Tape measure
- Shovel or mini excavator
- Compactible gravel
- Hand tamper or plate compactor
- 2×4 or 2×6 lumber for forms
- Hammer and form stakes
- Rebar or wire mesh
- Concrete mix (bagged or ready-mix, depending on size) and water
- Wheelbarrow or concrete mixer
- Straight 2×4 for screeding
- Bull float, magnesium float, or darby
- Edging tool
- Groover or circular saw for control joints
- Plastic sheeting
Have that list checked off before you touch the ground. Keep the pour moving once it starts instead of stalling out halfway through.
1. Check Codes and Call for Utility Locates
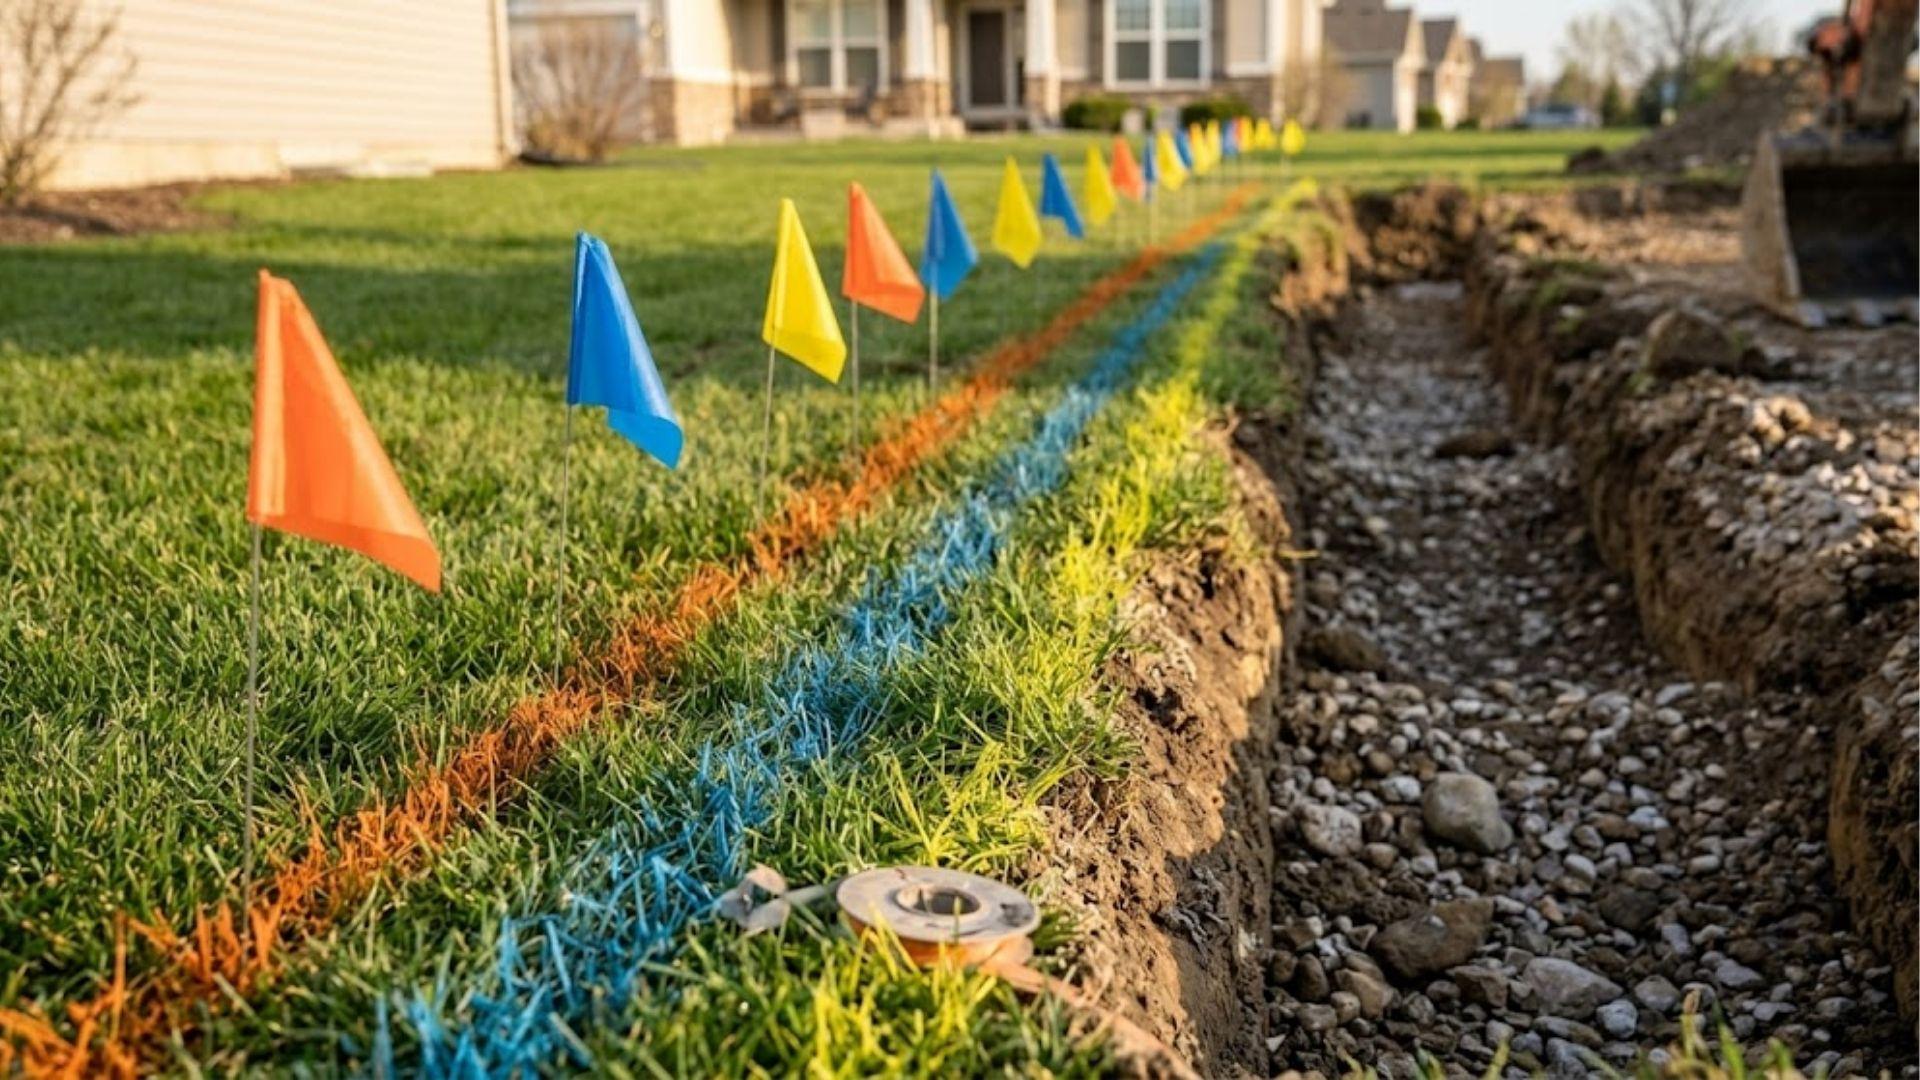
Before you put a shovel in the ground, check your local codes. Some areas want a permit once the slab passes a certain size.
Then call the utility locate line. Free service, and it marks any gas, electric, or water running under your property.
This isn’t just about protecting the slab. Hit a line while you’re digging and that’s a dangerous, expensive problem, not a slab problem.
2. Mark, Excavate, and Set the Slope
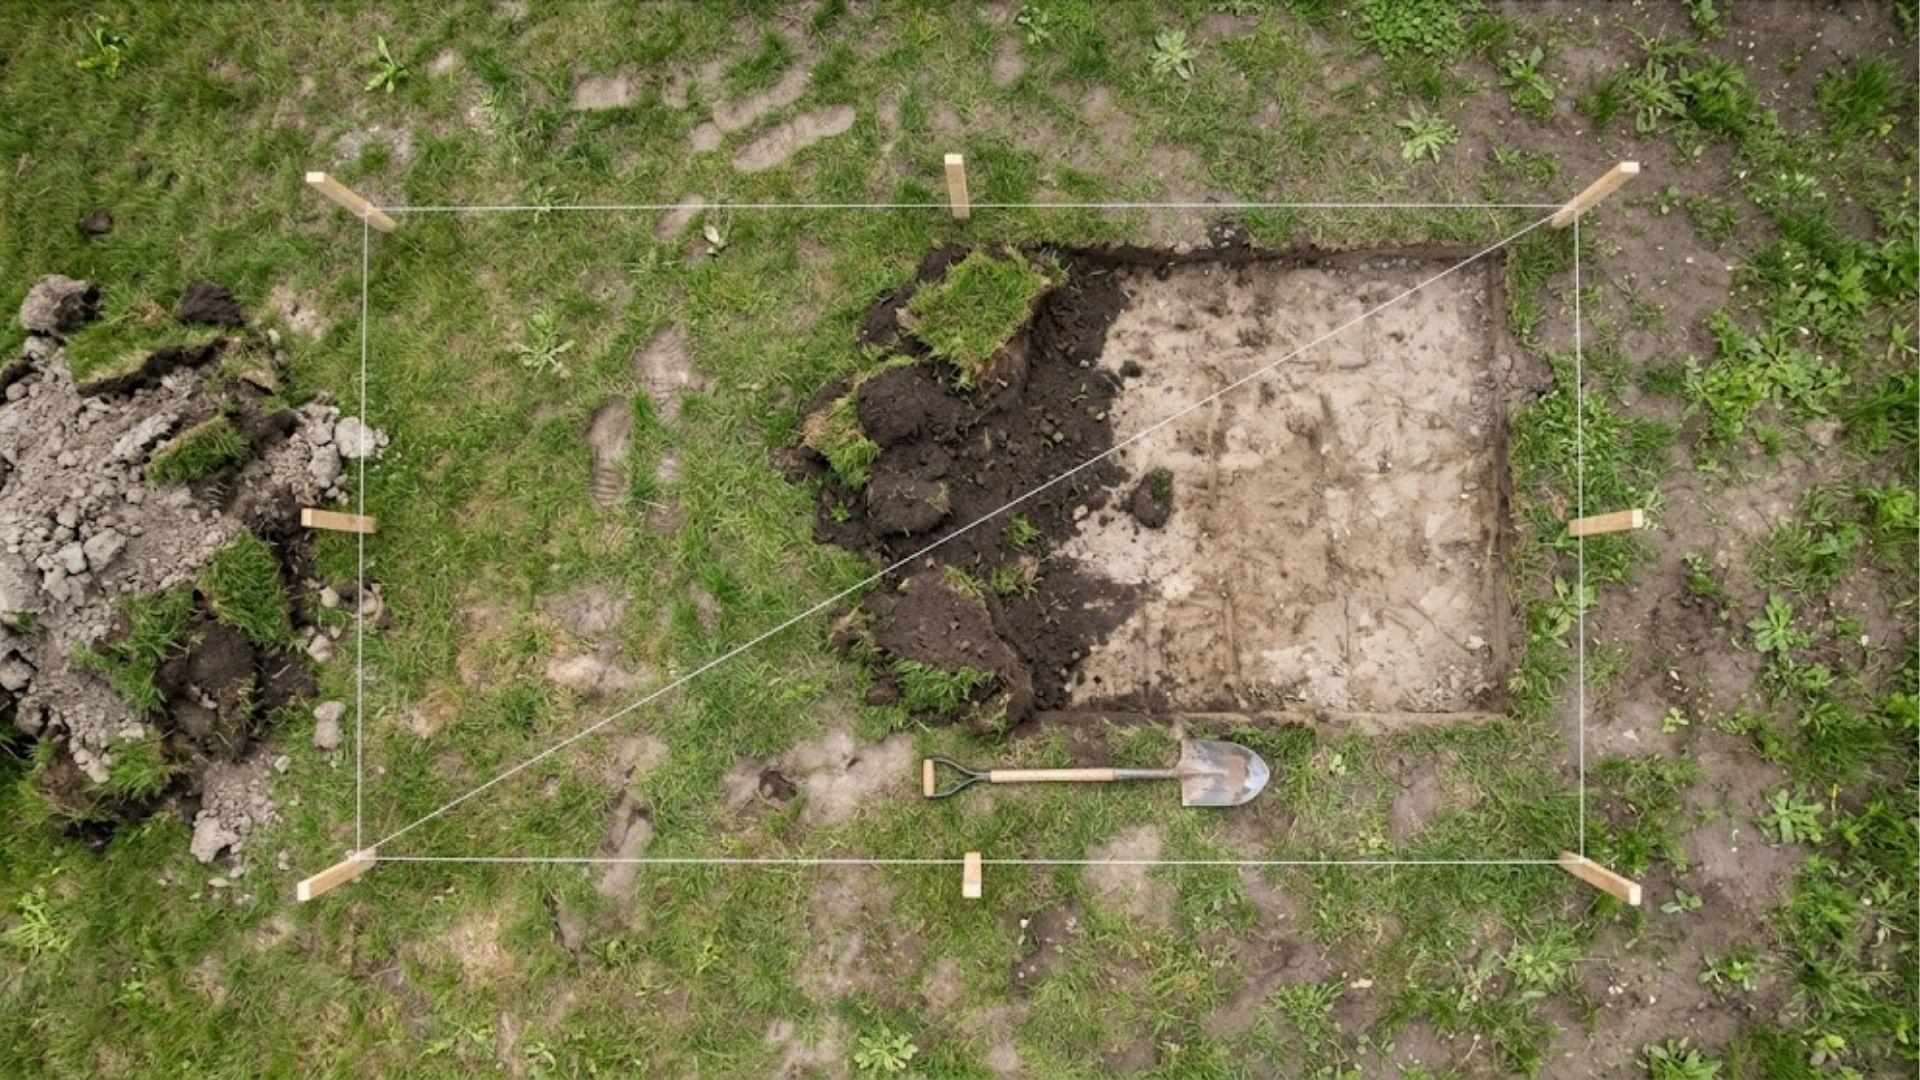
Stakes and string to mark the exact dimensions. Check its square by measuring both diagonals. They match, your corners are square.
Set a slight slope away from any structure, about a quarter inch per foot. That keeps water from pooling against the house or shed instead of running off.
Then dig it out, sod, topsoil, debris, down to solid ground.
3. Add and Compact the Gravel Base
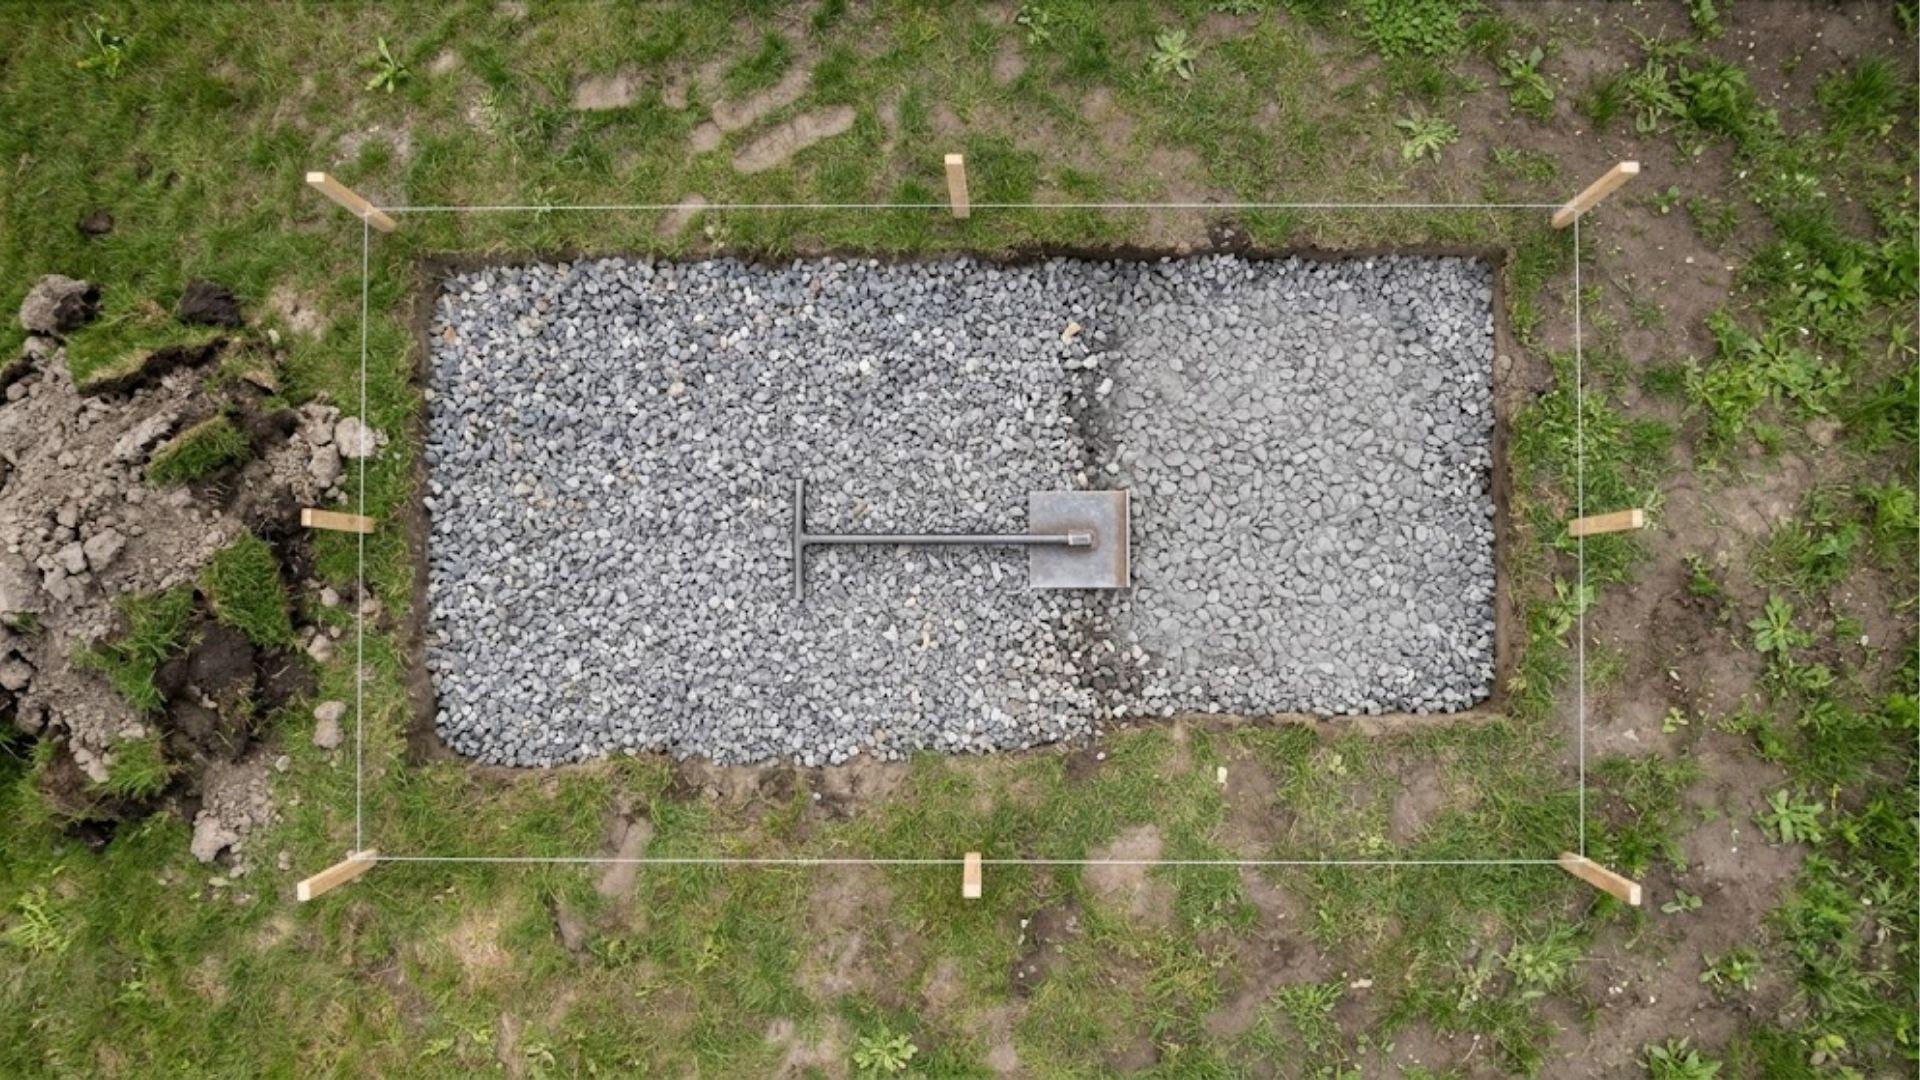
Spread compactible gravel across the excavated area. Gives you drainage and a solid, even surface for the slab to sit on.
Compact it hard with a hand tamper or plate compactor. A loose base is the number one reason slabs settle unevenly down the road.
4. Build the Forms
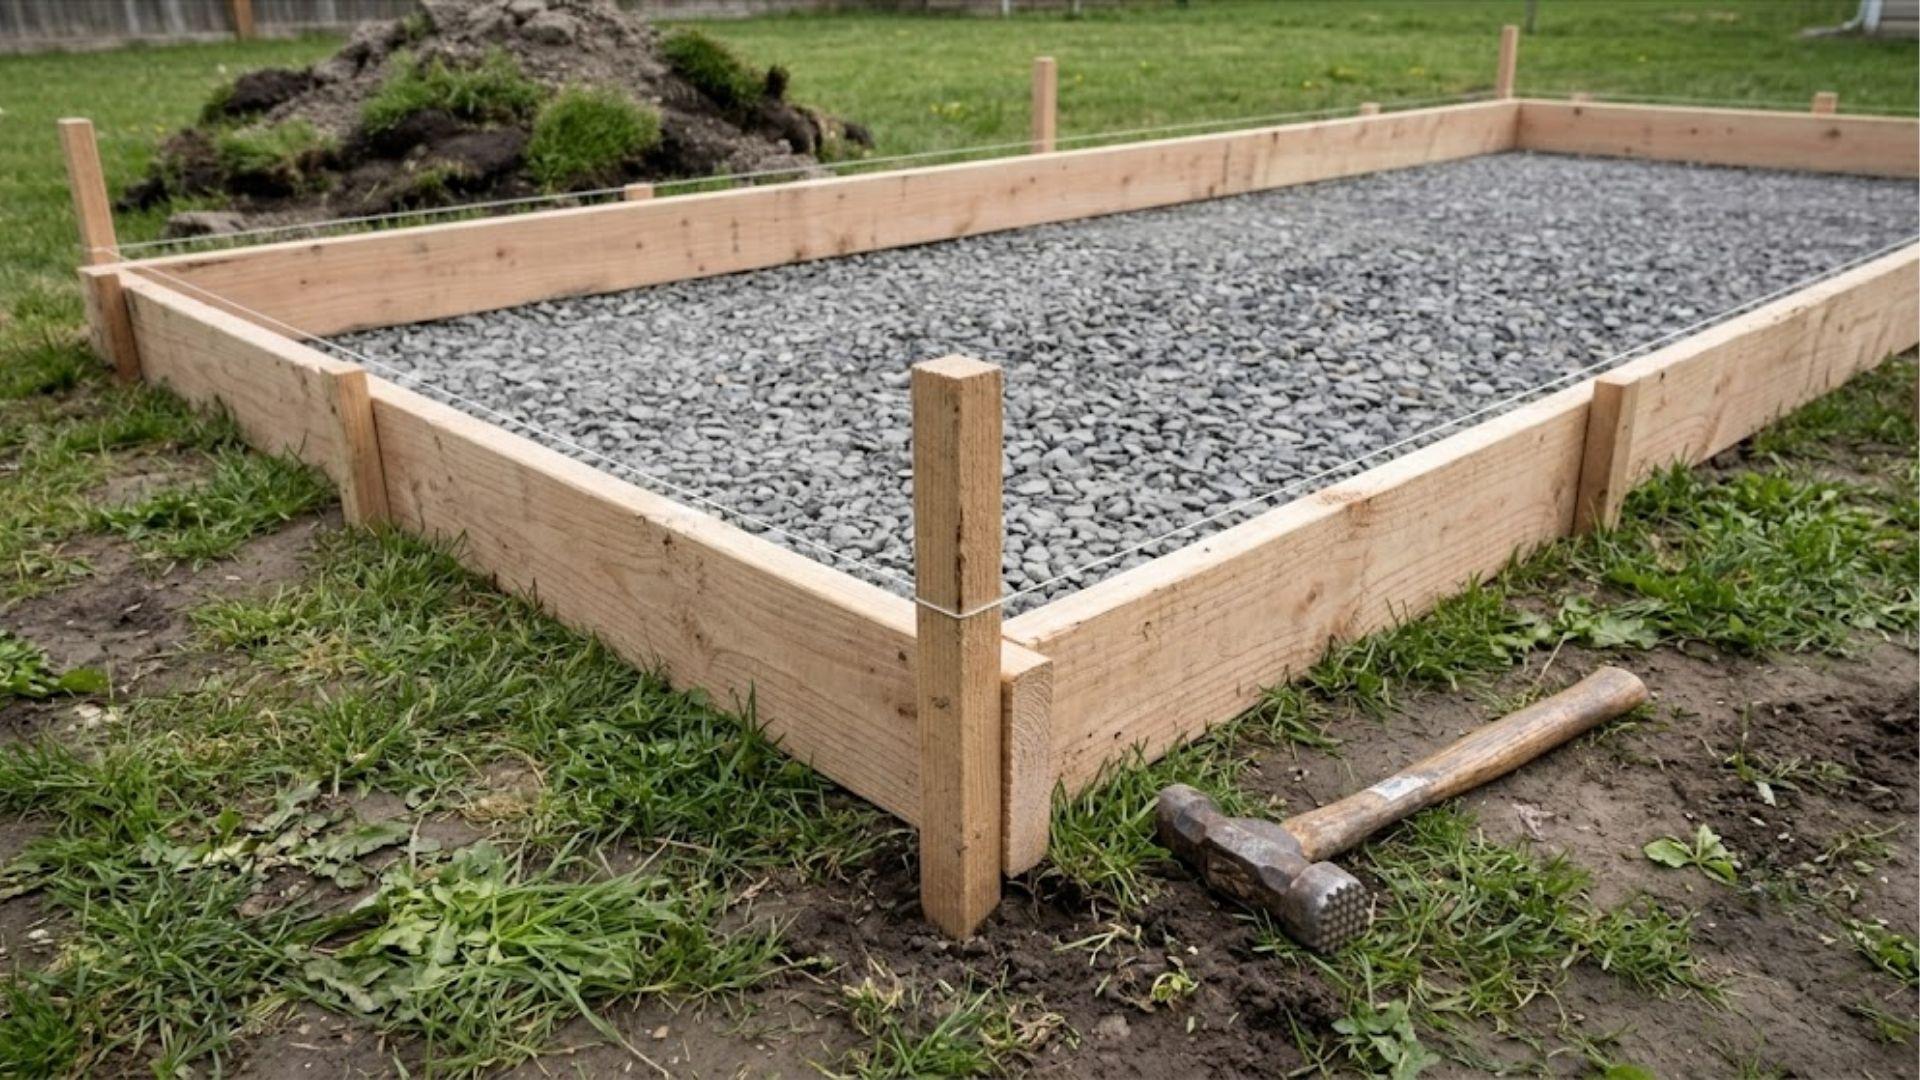
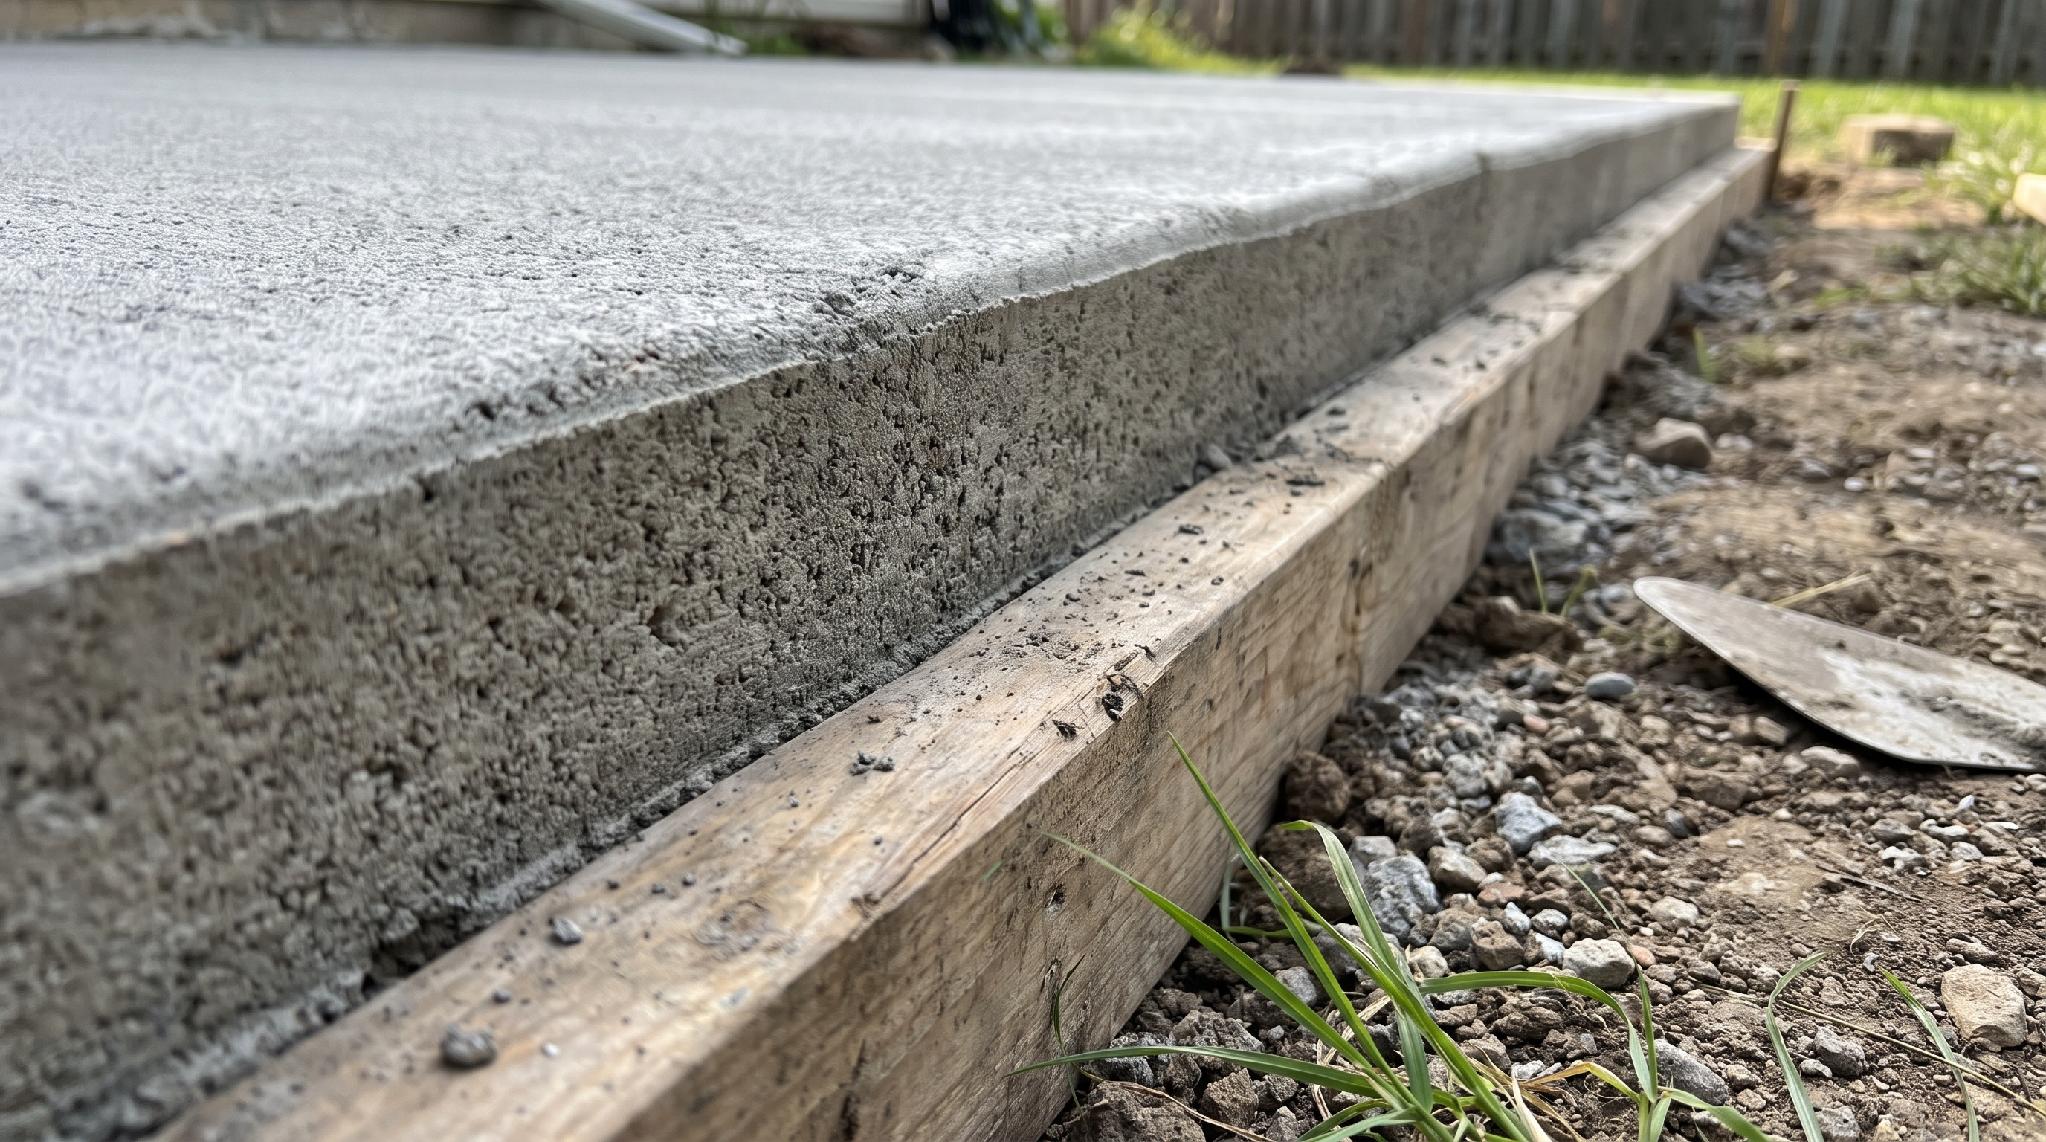
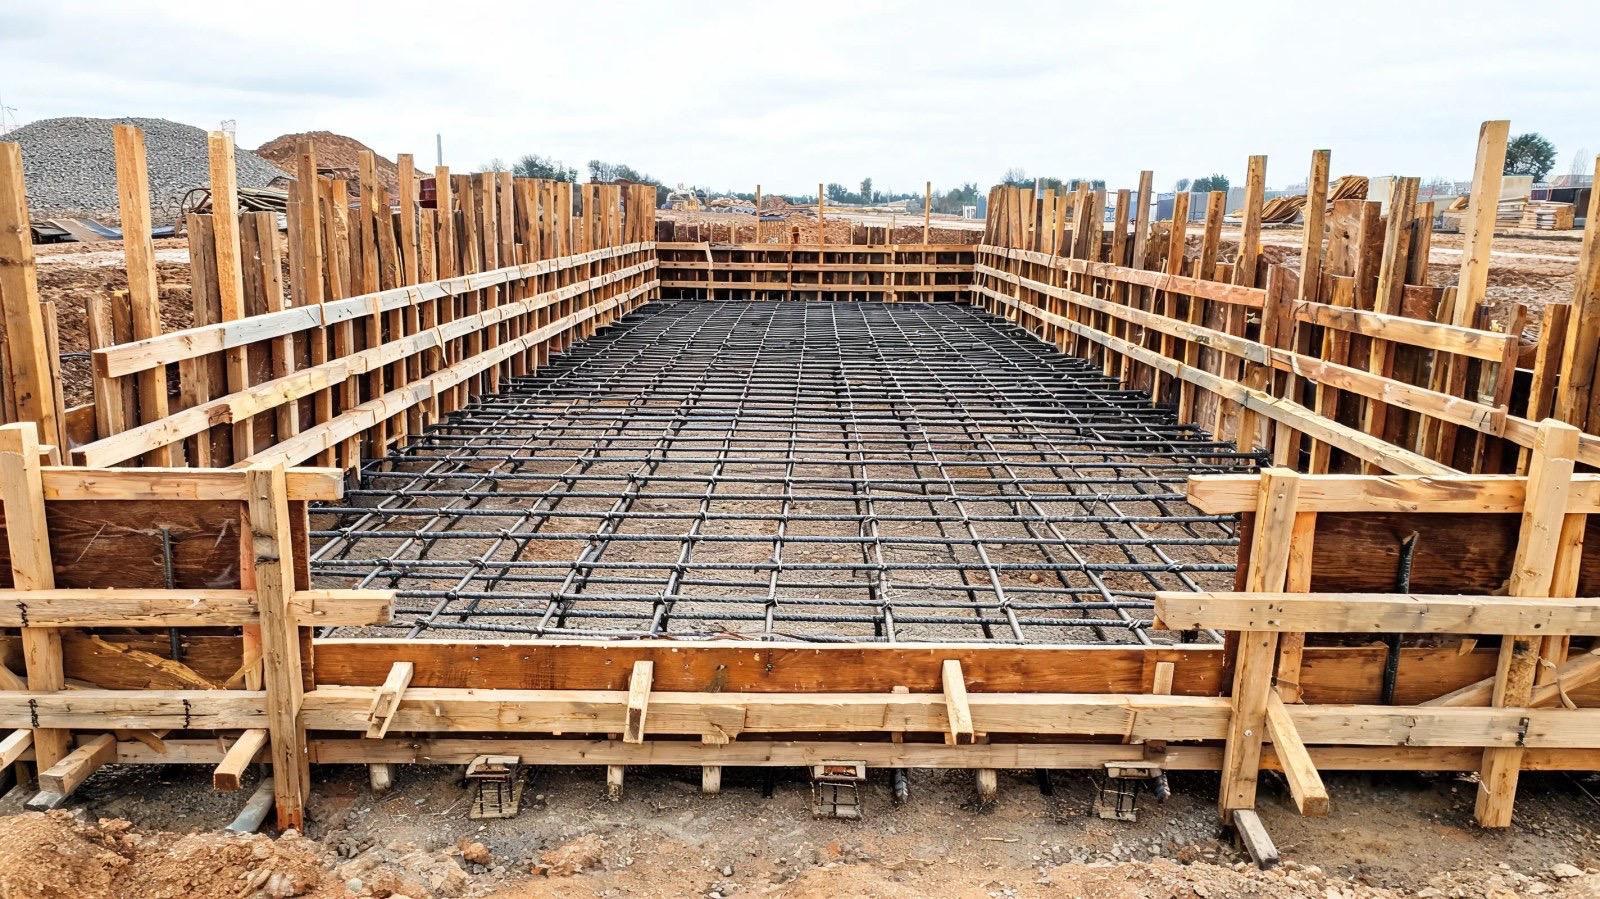
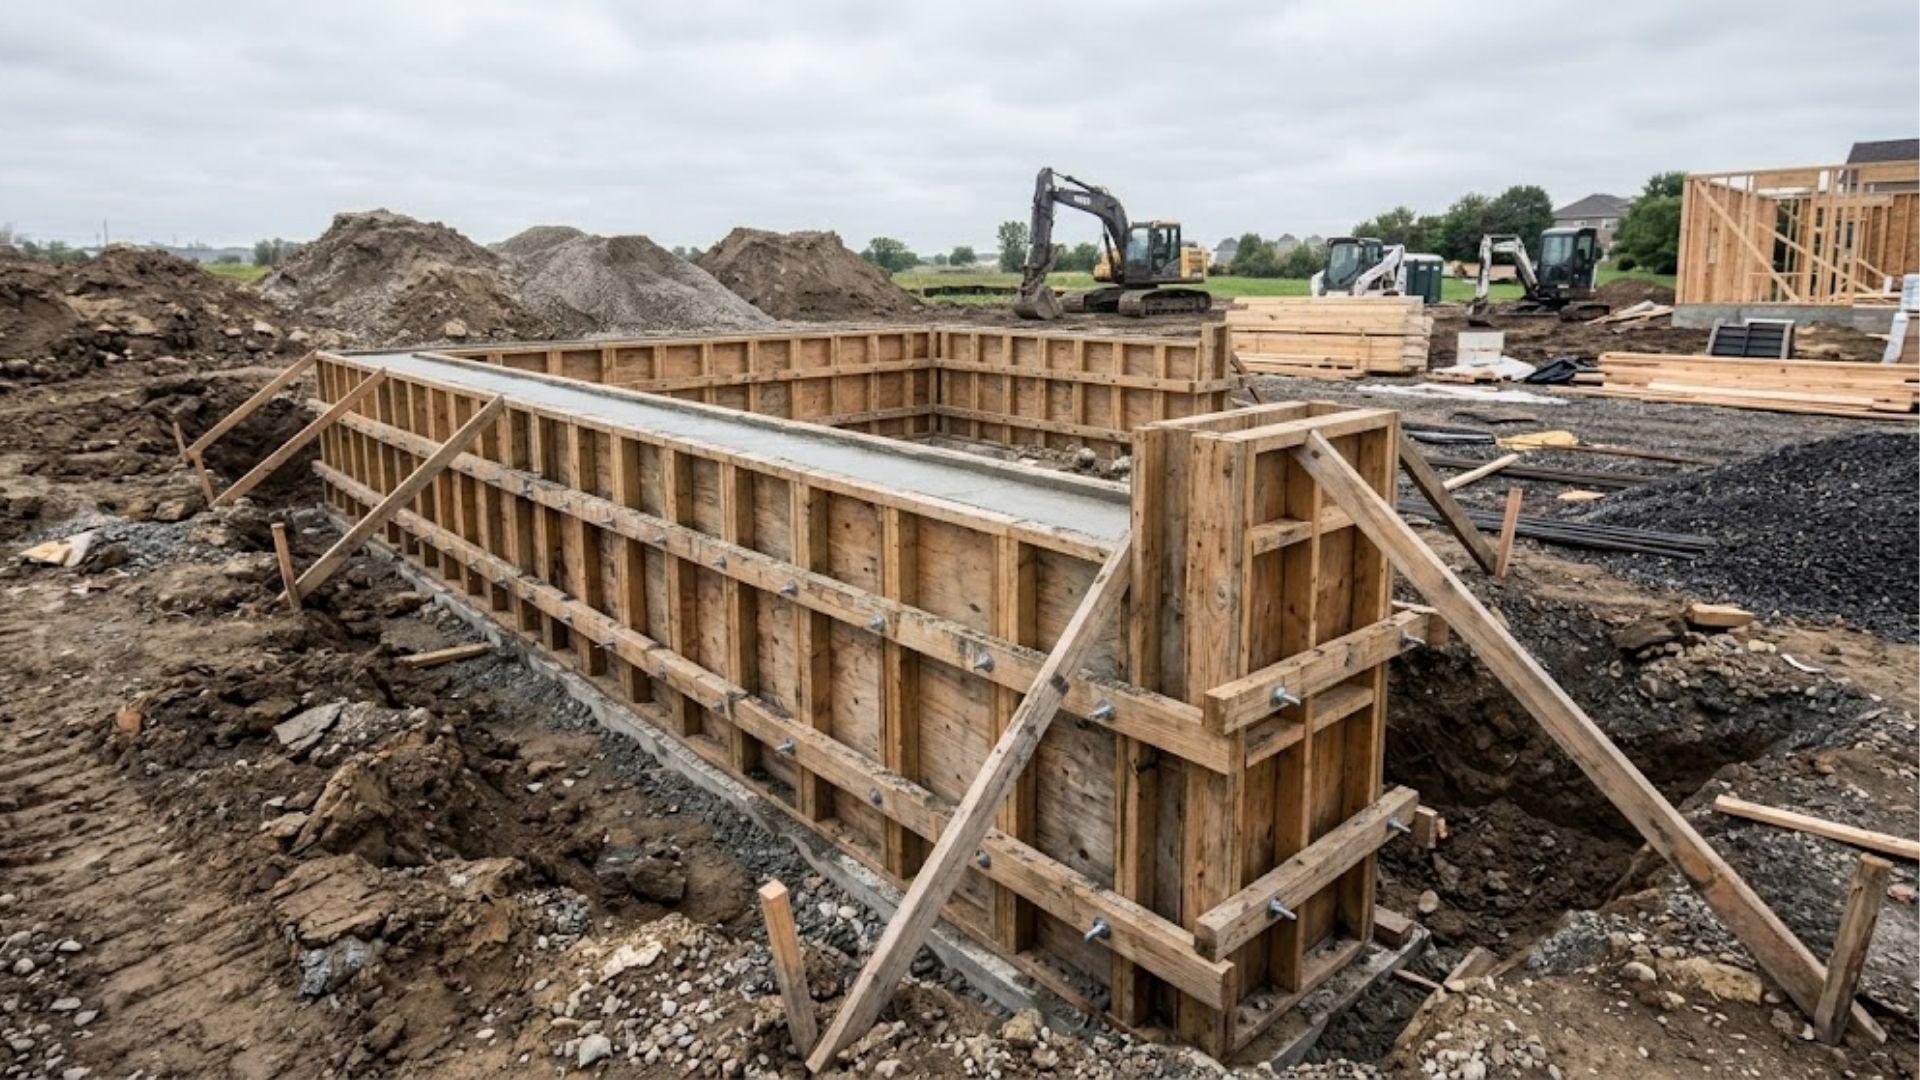
Frame the edges with 2×4 or 2×6, staked into the ground to hold shape. Check the forms sit level all the way around, because that line is your finished slab’s top surface. No fixing that after the pour.
5. Add Rebar Reinforcement
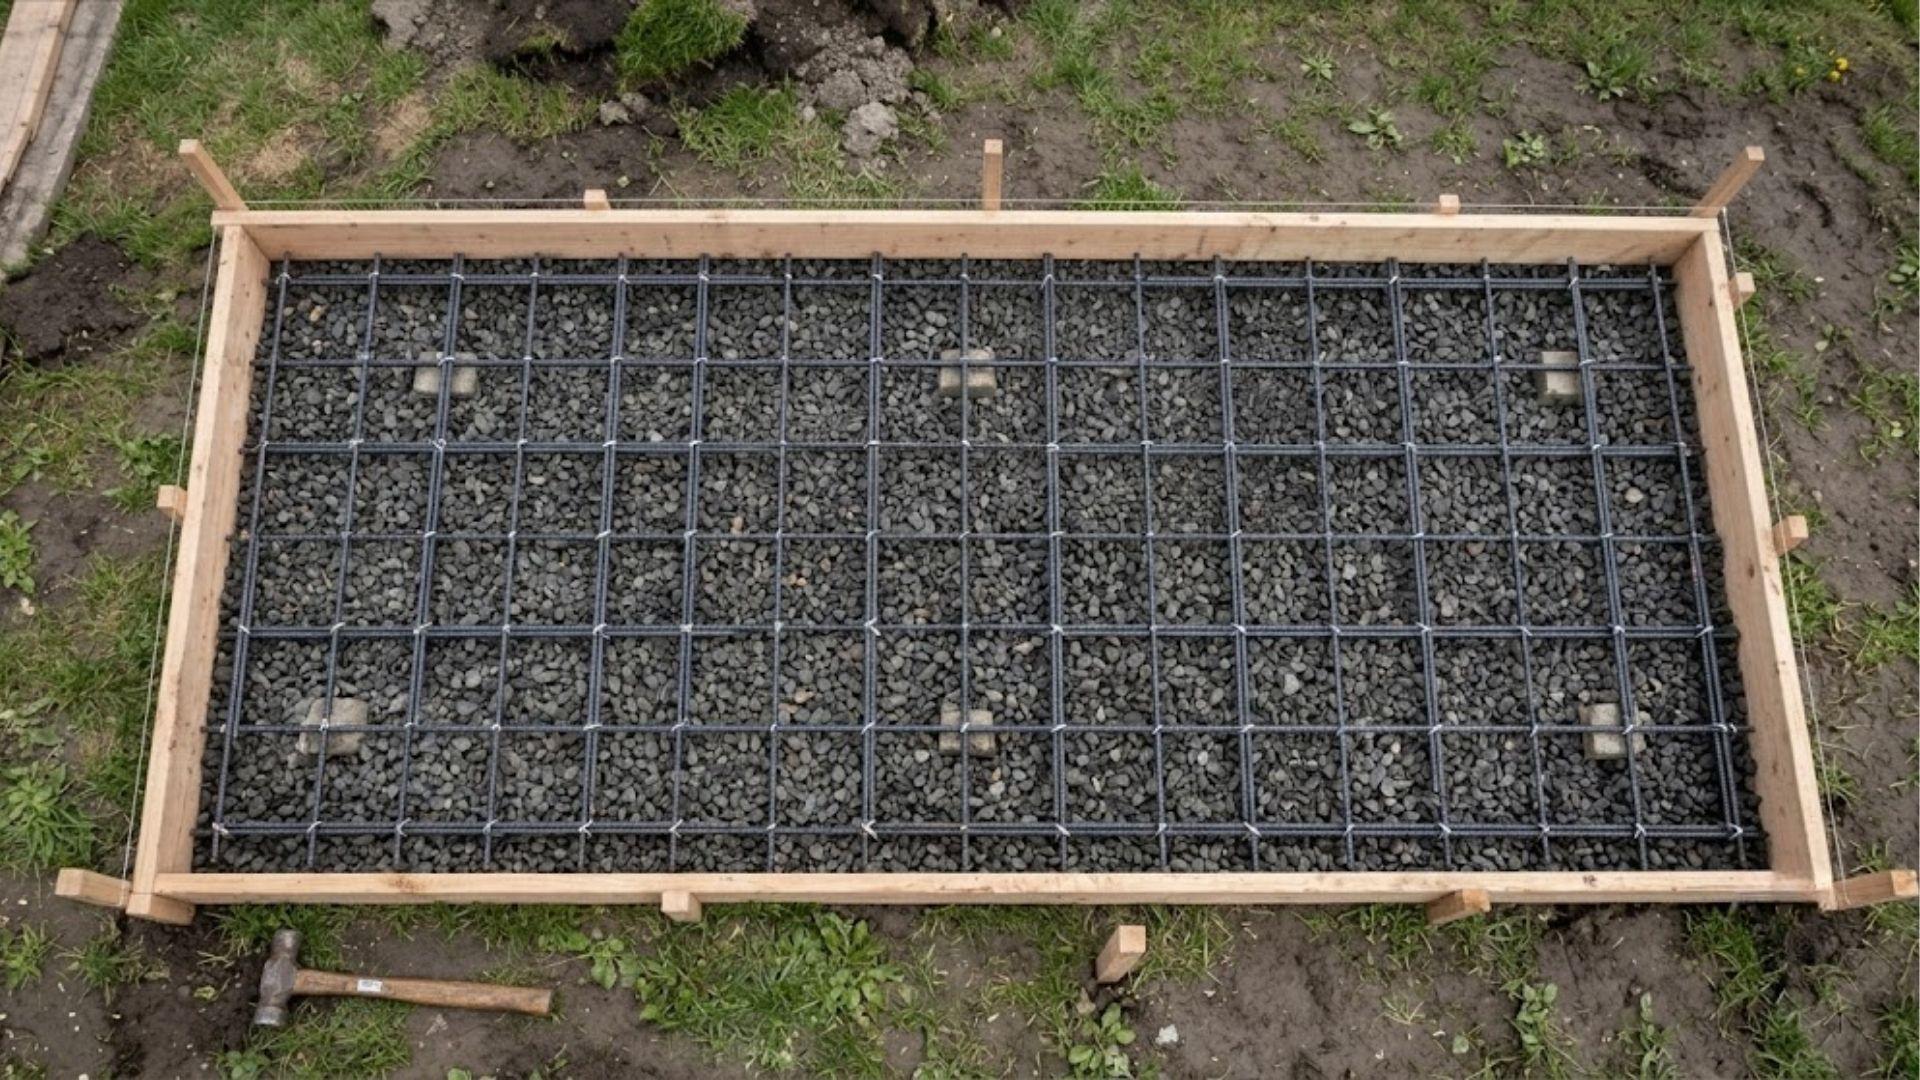
Lay rebar in a grid across the form, especially if it’s a driveway or anything carrying regular weight. Rebar’s what keeps a small crack from turning into the whole slab failing.
6. Mix the Concrete
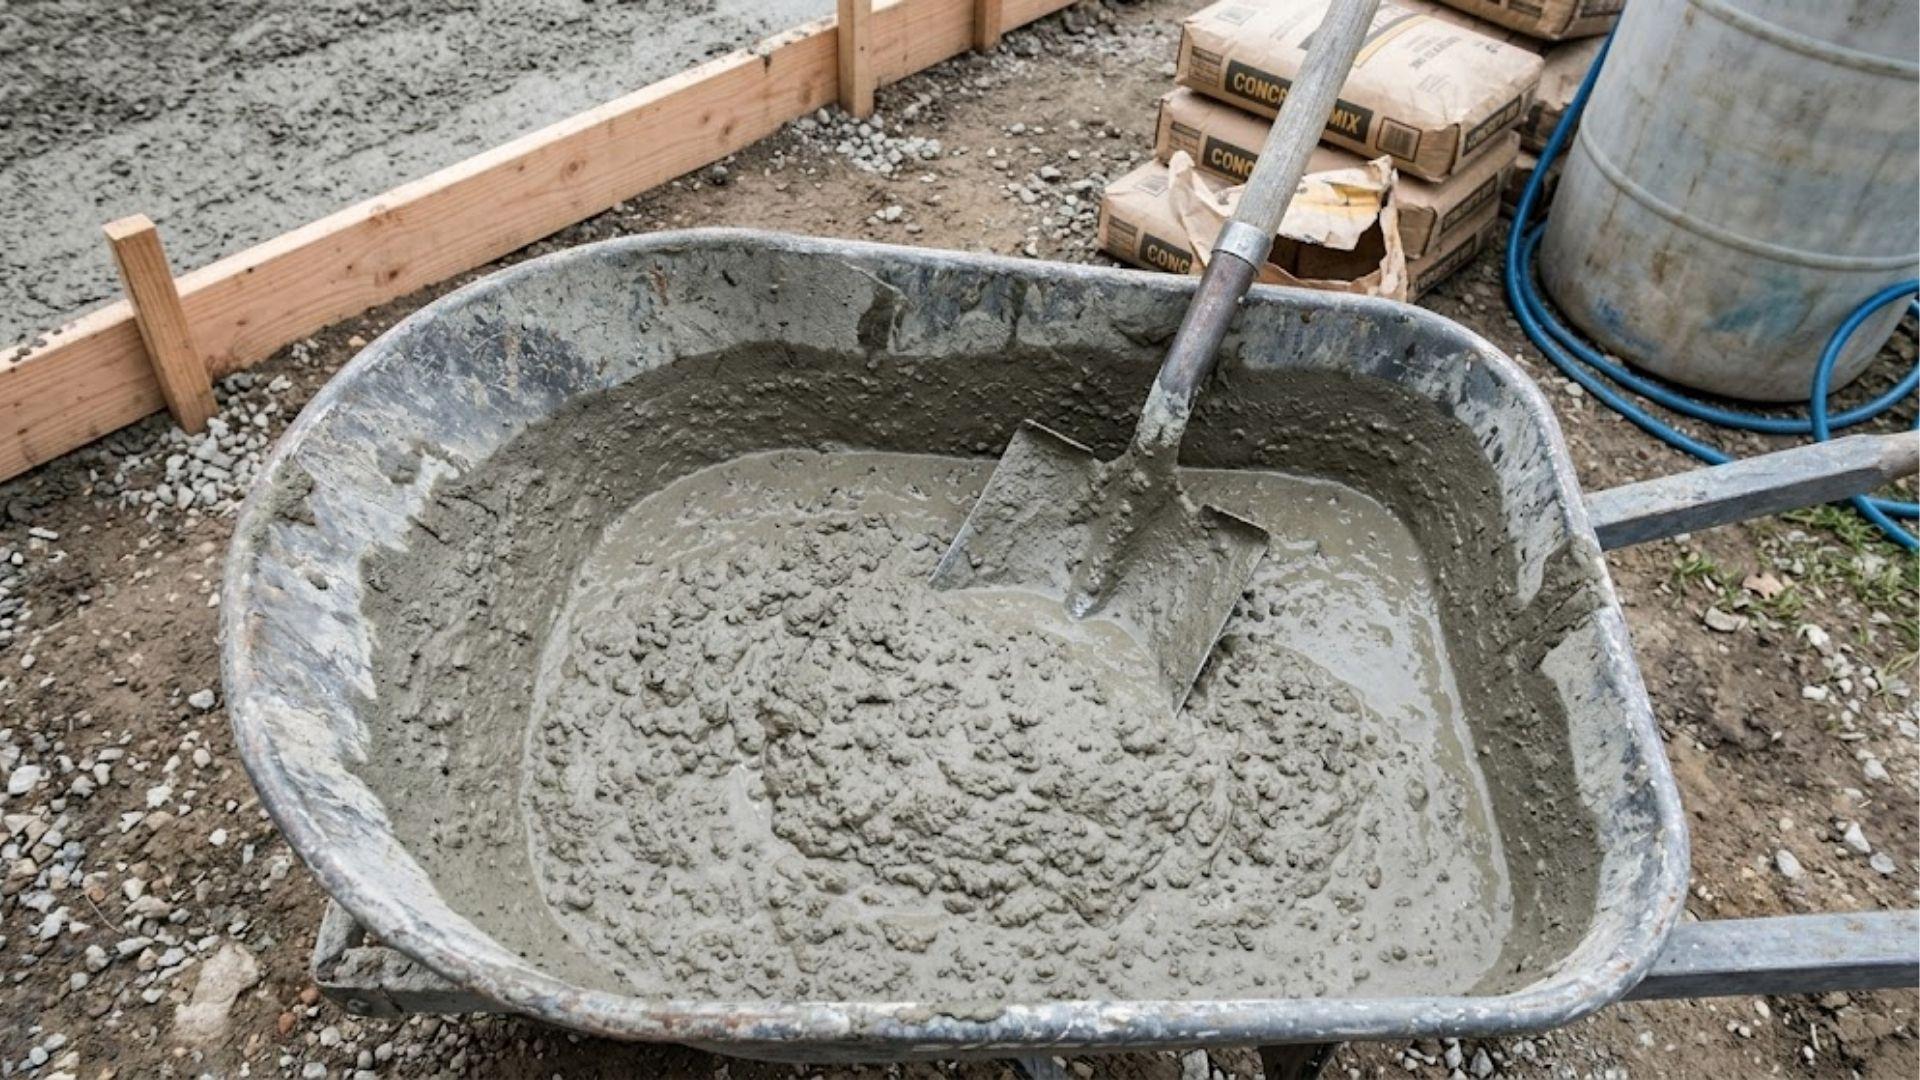
Mix it to about the consistency of thick oatmeal, not soupy, not crumbly. Follow the water ratio on the bag, don’t eyeball it.
Too much water and you’ve weakened the mix before it’s even on the ground. Too little and it won’t settle into the corners of the form.
Concrete starts setting the second water hits the mix. Once you start mixing, you’re on the clock, pour, screed, finish, before it firms up on you.
Hot weather speeds that clock up. Cold weather slows it down, and get it close enough to freezing and curing stops altogether.
7. Pour and Level the Concrete
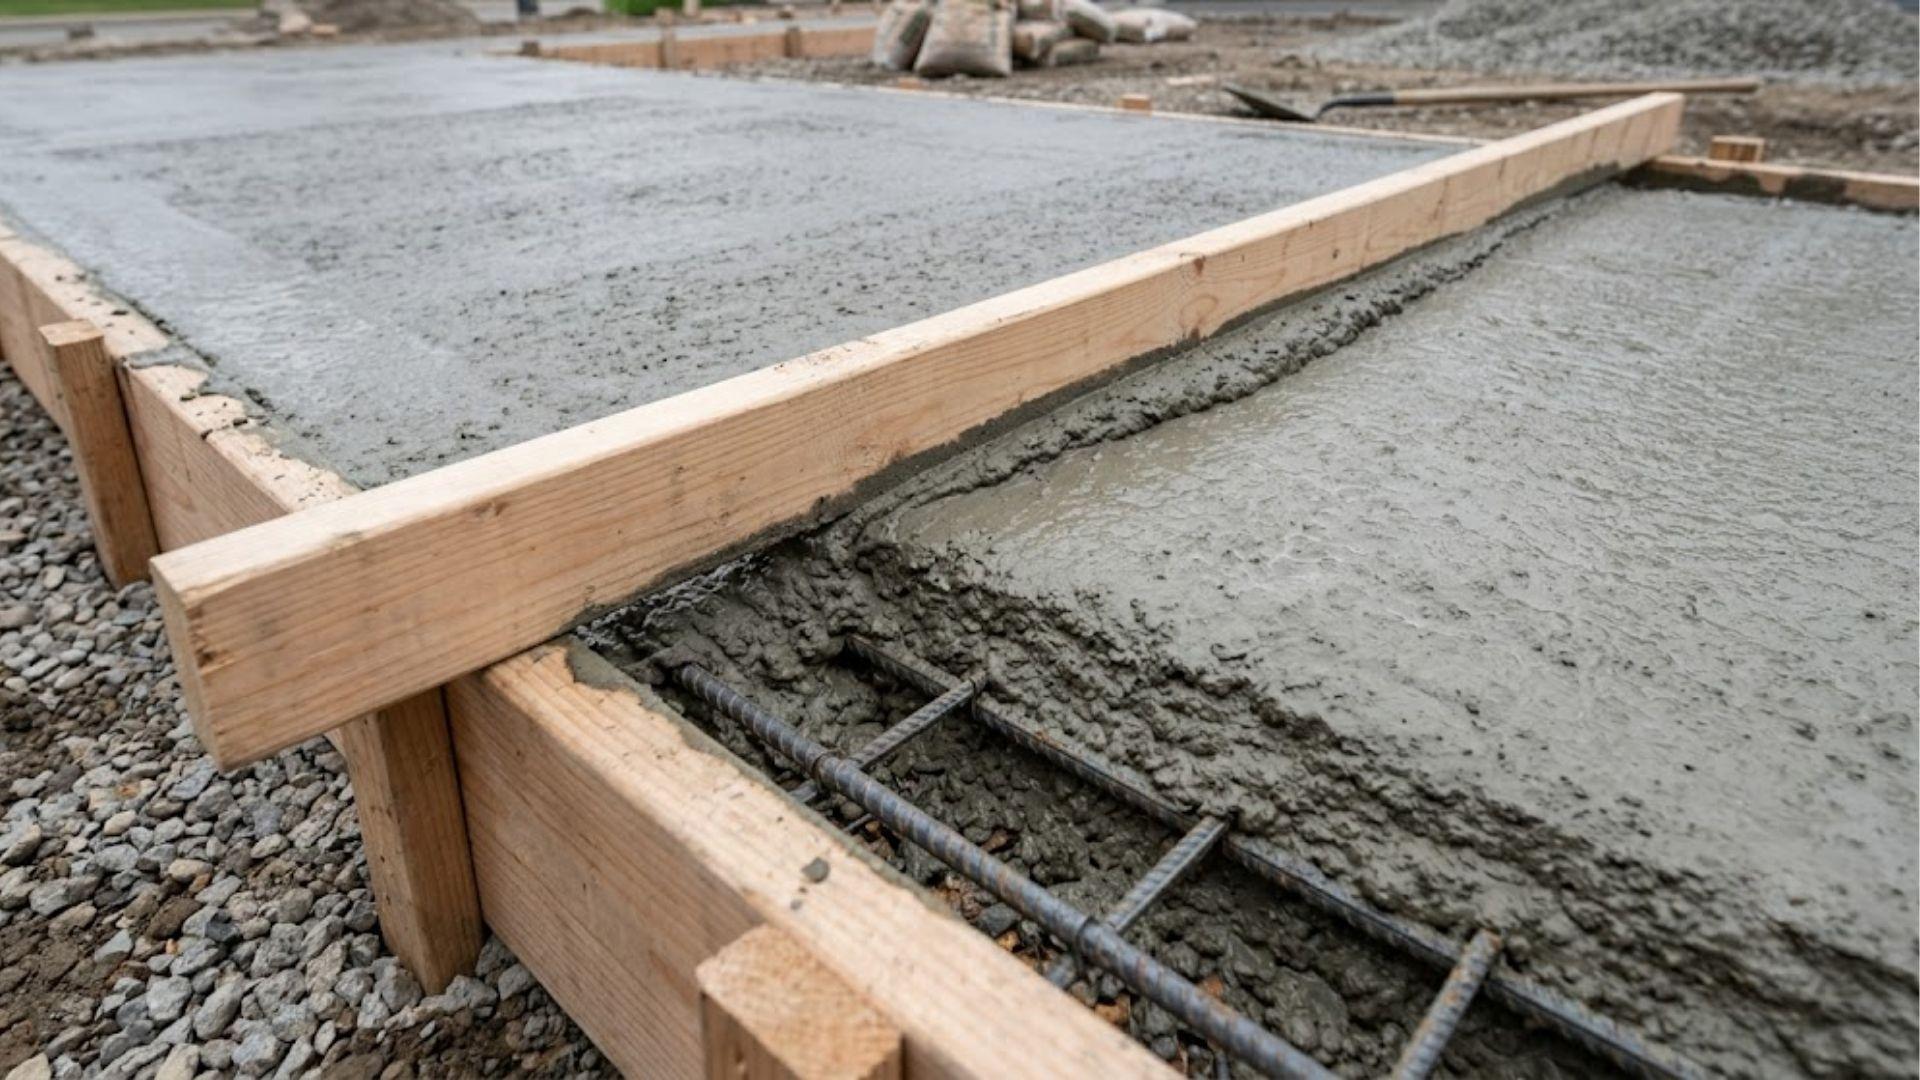
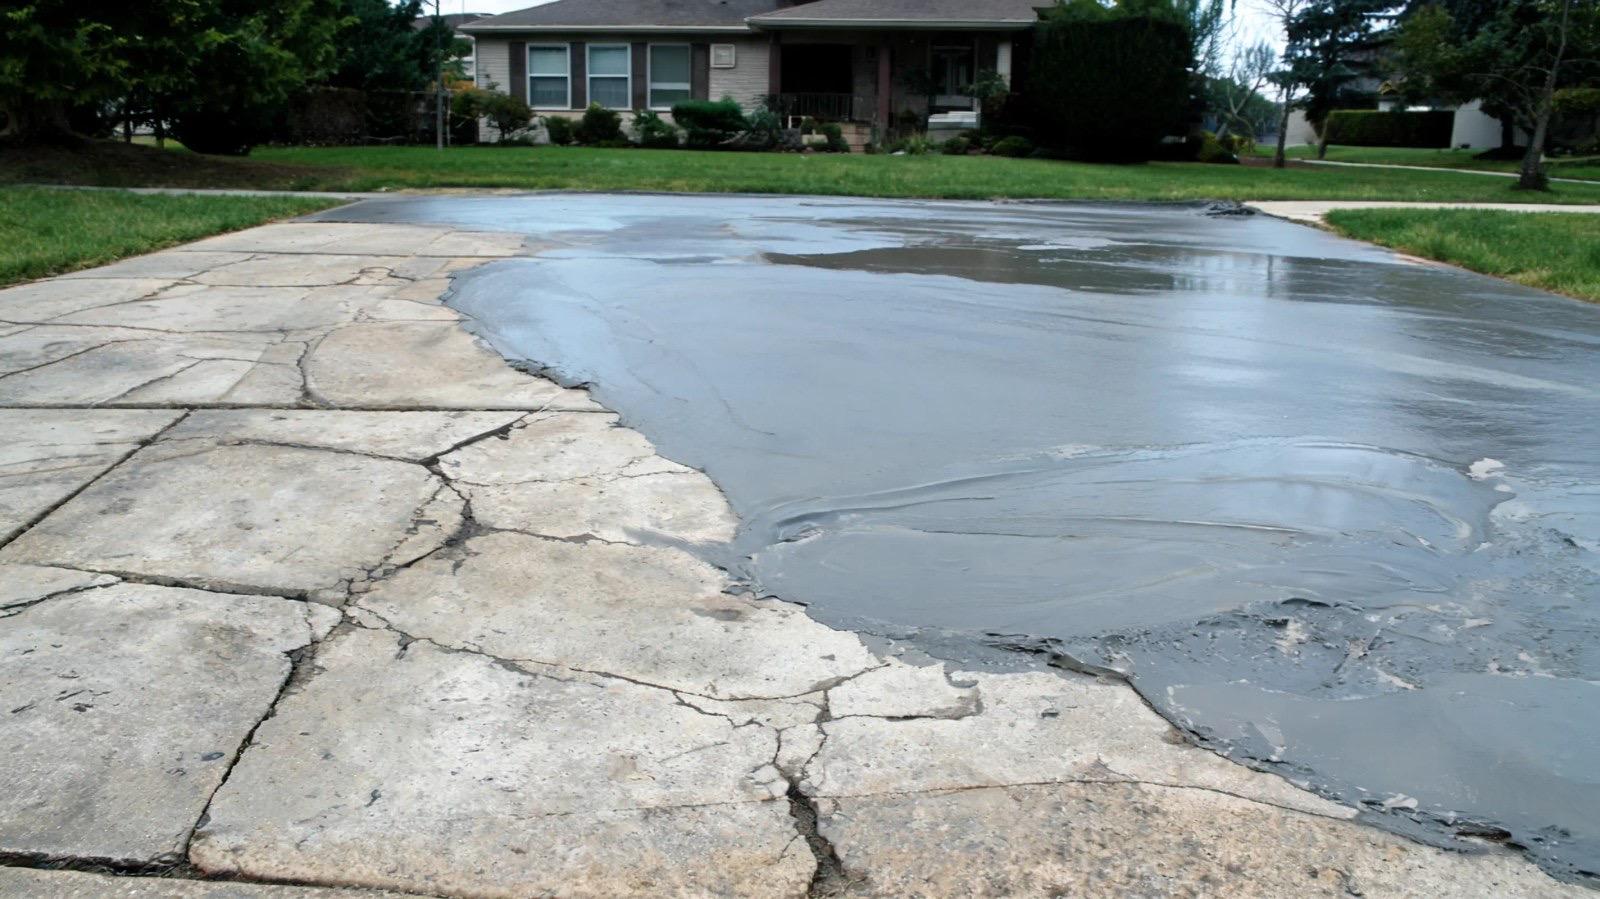
Pour it so it sits 2 to 3 inches above the top of the form before you level. That extra gives you something to work with once you start striking it off.
Take a straight 2×4, run it across the top of the form in a sawing motion, dragging the excess off as you go. That’s screeding. It’s how you get a flat surface at the exact height of your forms.
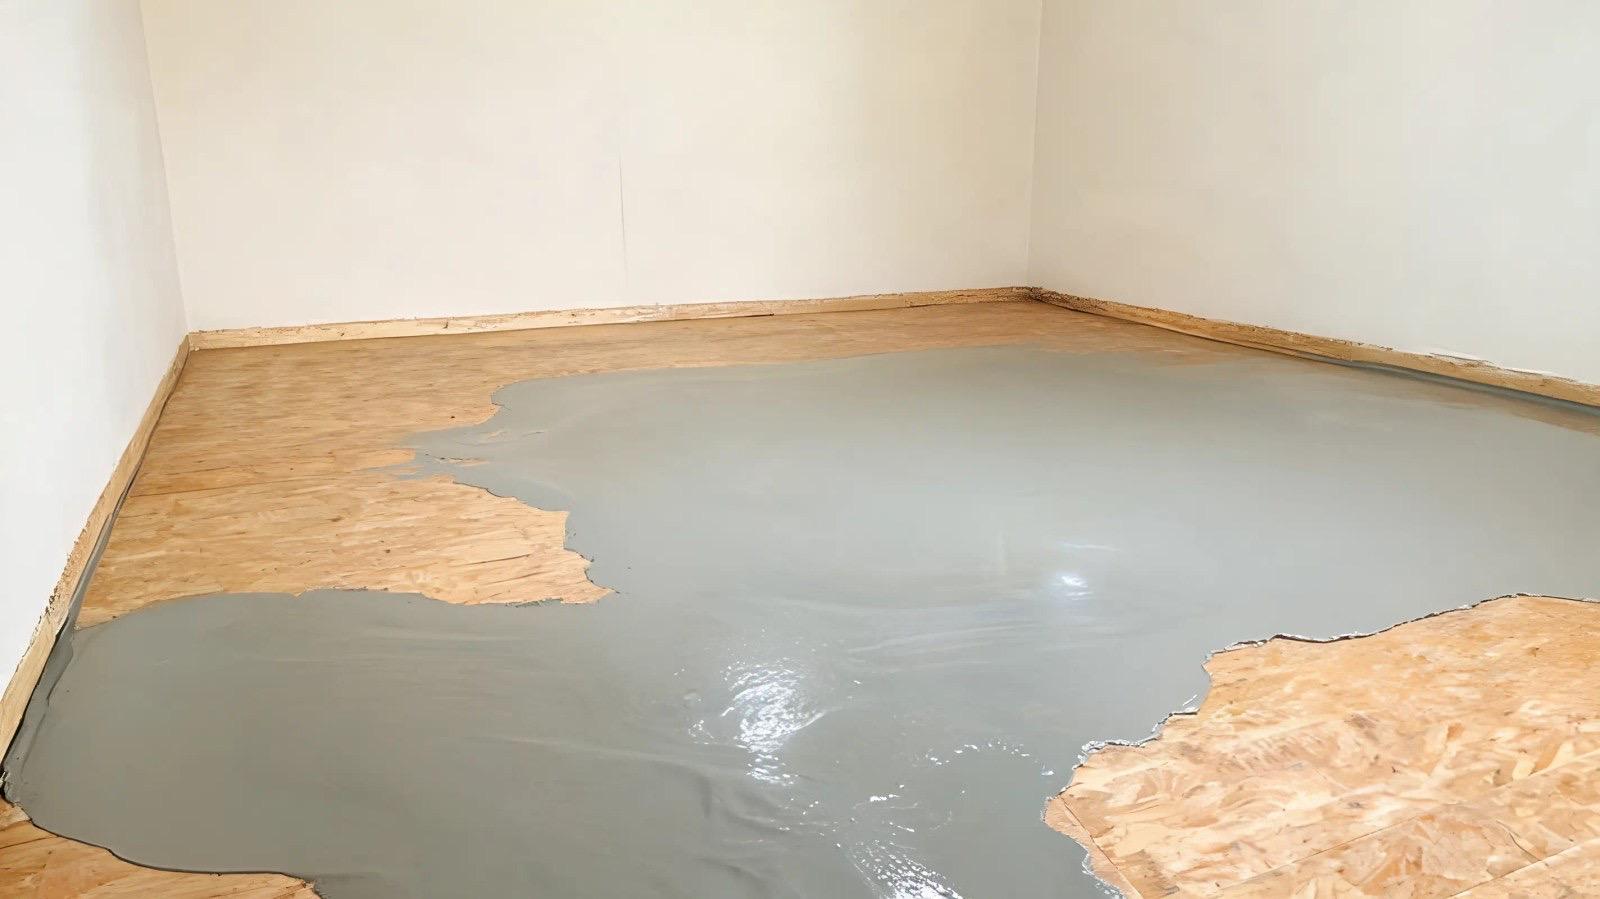
Here’s where guys rush it. Adding water to make the mix easier to screed feels harmless at the moment. It weakens the slab you’re about to spend the next few hours finishing.
8. Finish and Cure the Slab
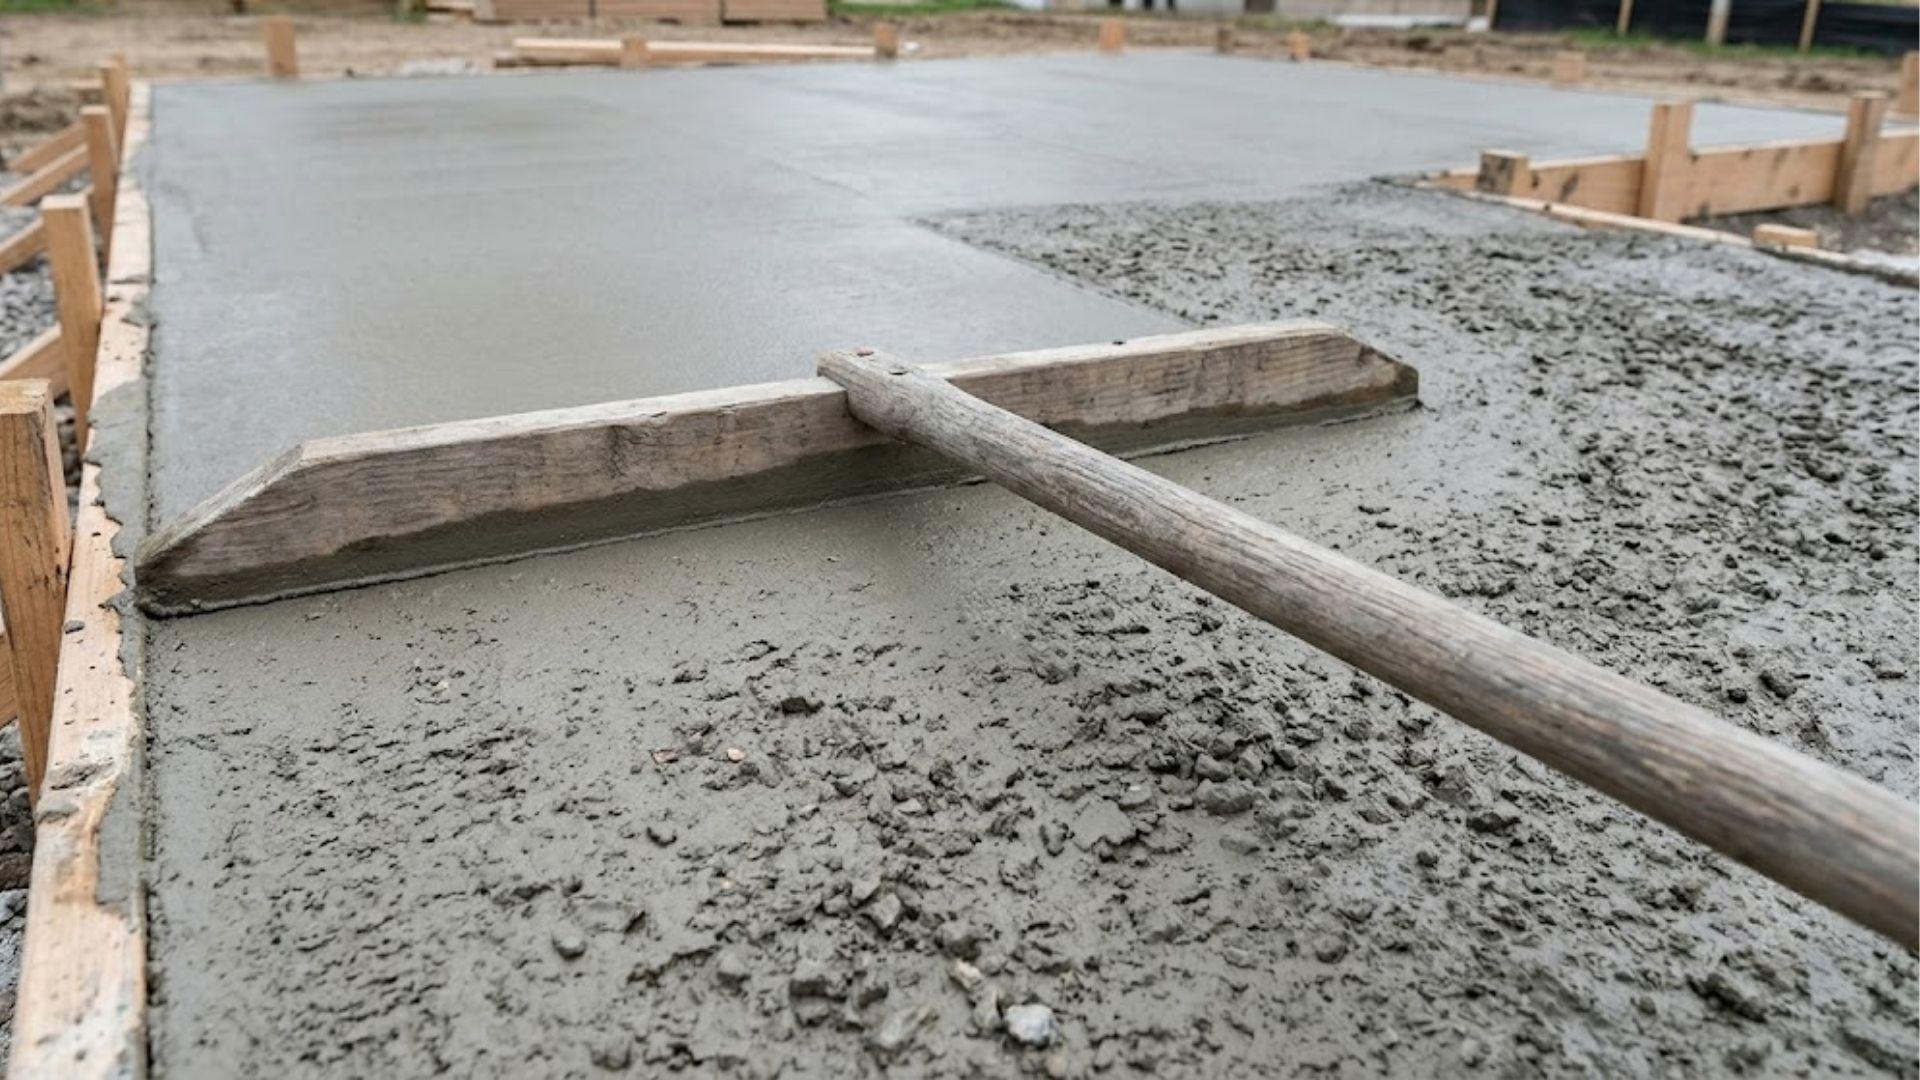
Once the sheen’s gone and the bleed water’s disappeared, it’s ready to float. Wood bull float, magnesium float, or darby, run it across the surface to smooth it and pack the aggregate down.
Edge the perimeter with an edging tool, work it back and forth until the slab separates clean from the form.
Cut control joints within 24 hours of the pour, every 8 to 10 feet, at a depth of about a quarter of the slab’s thickness, so roughly 1 inch deep on a standard 4-inch slab. Those joints tell the concrete exactly where to crack as it shrinks, instead of leaving that up to chance.
Why Curing Matters More Than People Think
Concrete doesn’t get strong by drying out. It gets strong through hydration, a chemical reaction where water reacts with cement over time. That reaction needs moisture to keep going. A slab that dries out fast loses strength and it doesn’t get back.
That’s why curing takes days, not hours. Cover it with plastic sheeting right after finishing to lock the moisture in.
Hot or windy weather, that moisture’s gone fast. You might need to mist the slab or re-cover it more often to keep the surface damp.
How to Tell It Cured Right
A slab that cured right feels uniformly hard across the whole surface, no soft spots, no dusty patches. Tap it, you want a dull, solid sound.
The surface crumbles or dusts when you scrape it, it dried out too fast during cure.
Common Mistakes That Ruin a Slab
Most slab failures come down to one of these, and every one’s avoidable.
Skipping base compaction, a soft base settles uneven and takes the slab with it.Adding extra water to the mix, makes the pour easier, cuts your finished strength.
Skipping control joints, the slab cracks wherever it wants instead of where you planned it.
Not curing long enough, a slab that dries too fast never hits full strength.Pouring in extreme heat or cold, throws your whole setting timeline off.
I’d put compaction and control joints as the two that wreck the most slabs. Neither one costs you much time to do right.
The Bottom Line
Prep, pour, finish, cure; that order never changes, and the base does more work than the concrete on top of it ever will.
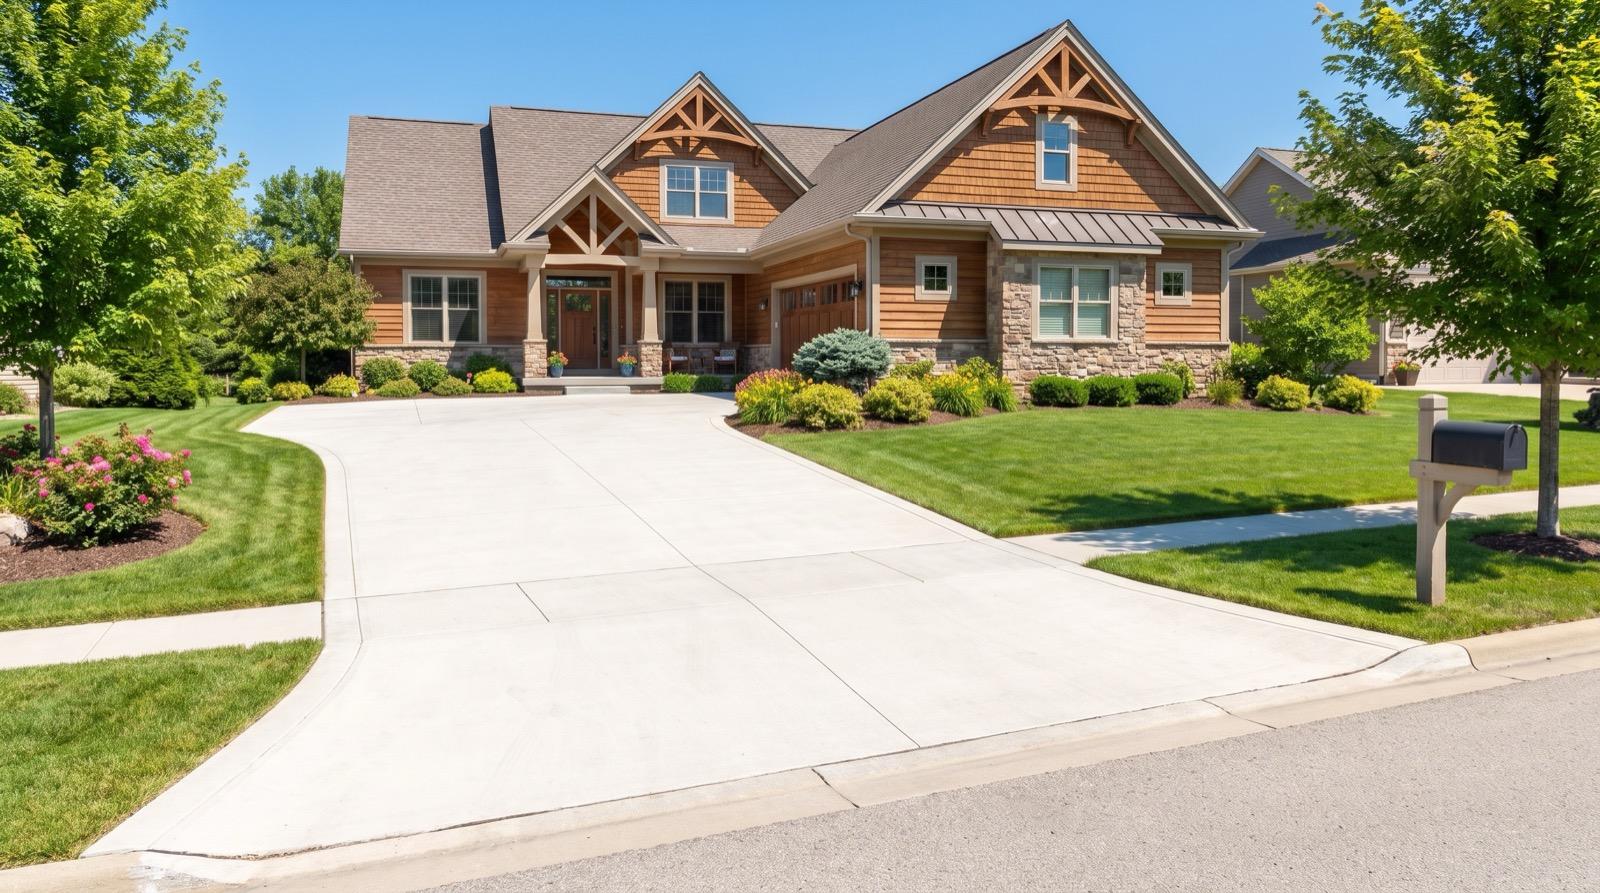
Get the compaction and the joints right and you’re looking at a slab that’s still flat in twenty years, not two.
Frequently Asked Questions
Do You Need Rebar in a 4-Inch Concrete Slab?
A 4-inch slab for a patio or walkway usually holds up fine on wire mesh instead of rebar. Rebar earns its keep when the slab’s carrying vehicle weight or sitting on unstable soil and some local codes require it regardless of slab thickness, so it’s worth checking before you decide.
Do I Need Gravel Under a Concrete Slab?
Yes. A compacted gravel base, 3 to 4 inches, keeps the slab off soil that shifts or holds moisture. Skip it and you’ve got one of the most common reasons slabs crack or settle within a few years.
How Long Does 4 Inches of Concrete Take to Harden?
Four-inch concrete’s usually firm enough to walk on after 24 to 48 hours. Not fully cured for heavy use until around 28 days.
Is It Cheaper to Mix and Pour Your Own Concrete?
DIY’s usually cheaper on small slabs, since you’re only paying materials and equipment rental. That savings shrinks as the slab gets bigger, and one mistake can wipe it out entirely.