
Picture this: you’re standing in your backyard with a tape measure in one hand and a stack of appliance brochures in the other, and you’ve already picked the grill. Maybe even the pizza oven too.
It’s exciting, I get it. But I’ve watched this exact scene turn into a very expensive do-over more times than I can count, because the appliances got chosen before anyone figured out whether the yard could actually hold them.
Here’s the order that actually works: layout first. Appliances second. Build method third. Utilities last.
Get that order wrong, say, picking appliances after the gas and water lines are already in, and you’re tearing into a finished frame to fix it.
Here, I’ll walk you through the four layout shapes, how DIY stacks up against modular kits, what conditions should change your plan, and the sequence that keeps you from doing any of this twice.
What Are the Main Outdoor Kitchen Layout Options?
Before you pick a grill or a countertop, you need to know which of these four shapes your yard can actually hold. Each one suits a different yard size and a different way of cooking.
Your yard picks the shape for you, not the other way around. I mean, it’s tempting to want the layout you saw in a magazine, but a shape that feels open and easy on a deep patio is going to feel like a hallway on a narrow side yard. No amount of wishing changes the math of the space you’ve got.
Build method is a completely separate decision, and it comes after you’ve settled on a shape, not before.
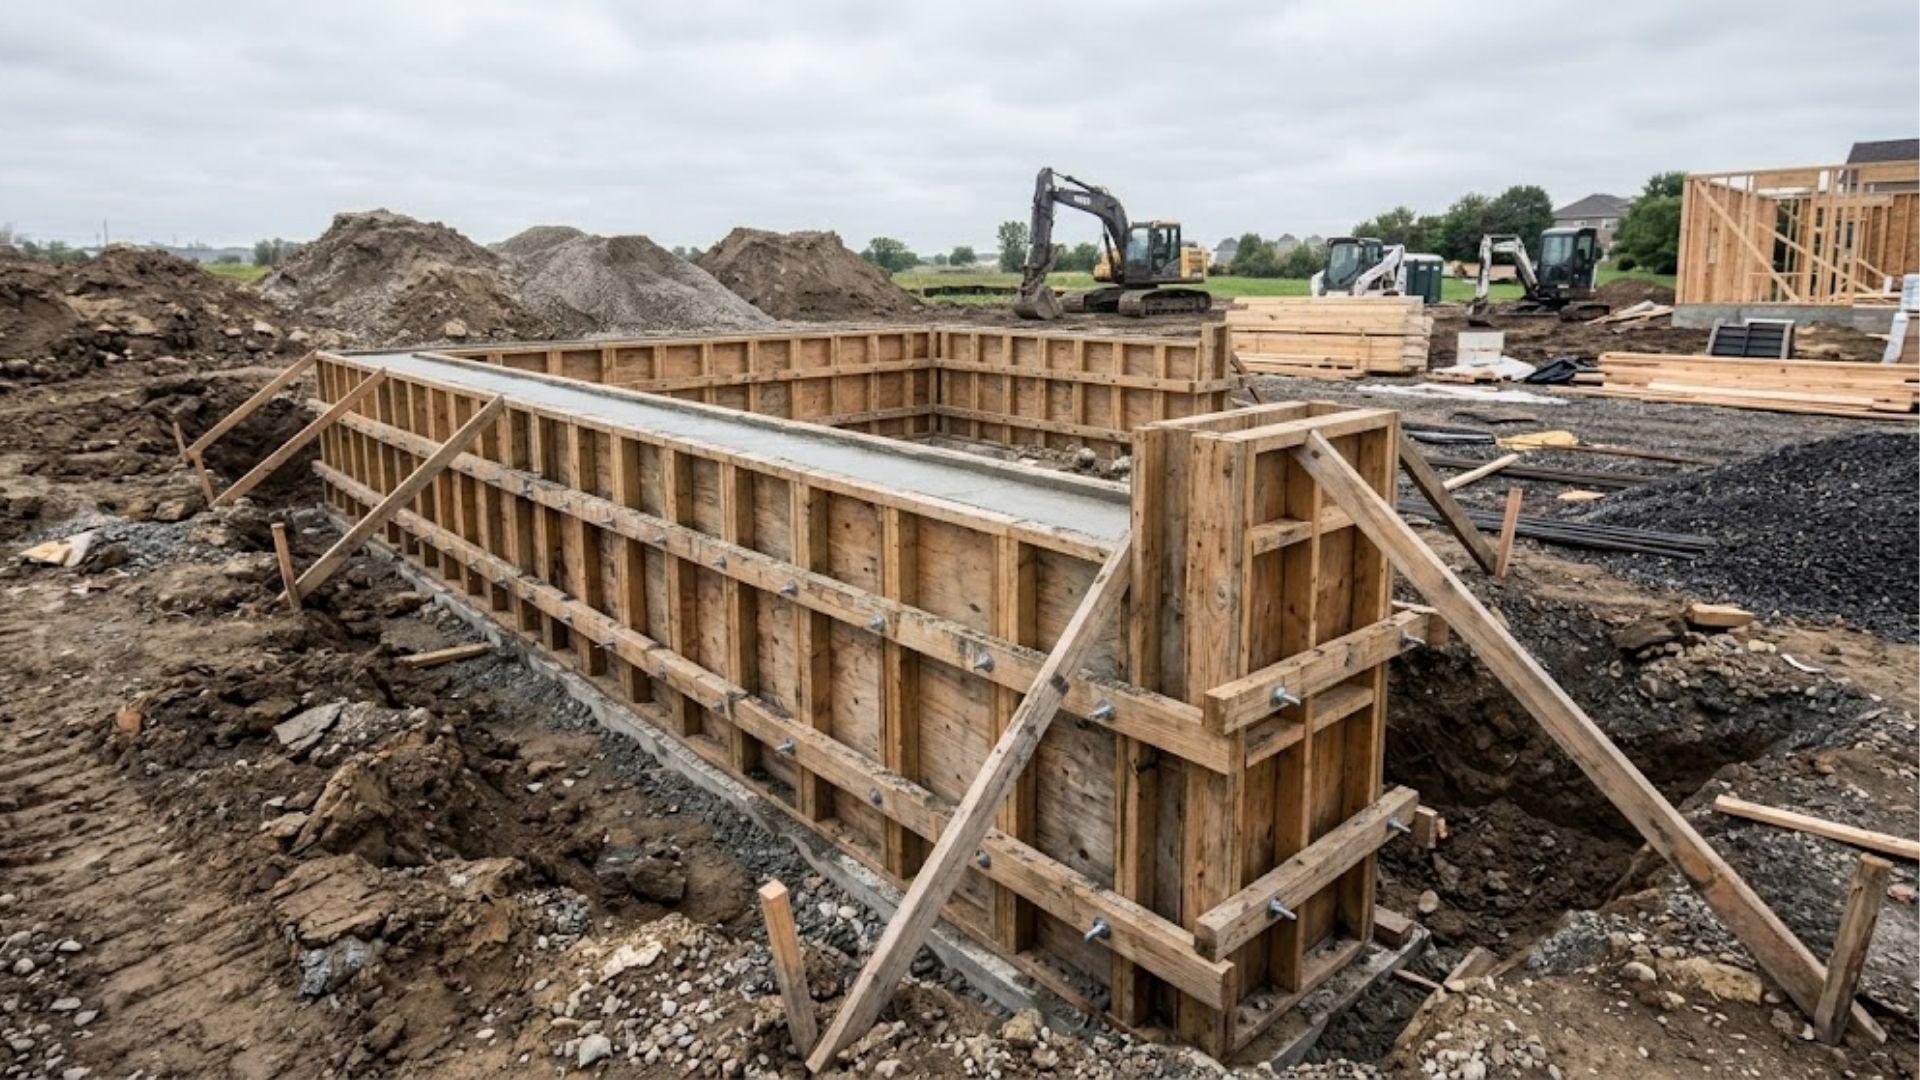
Whether you frame it yourself, pour masonry, or snap together a modular kit, that choice only makes sense once you know your footprint.
I’ve seen people fall in love with a build method first and then spend weeks fighting their own yard trying to make it fit. Save yourself the fight.
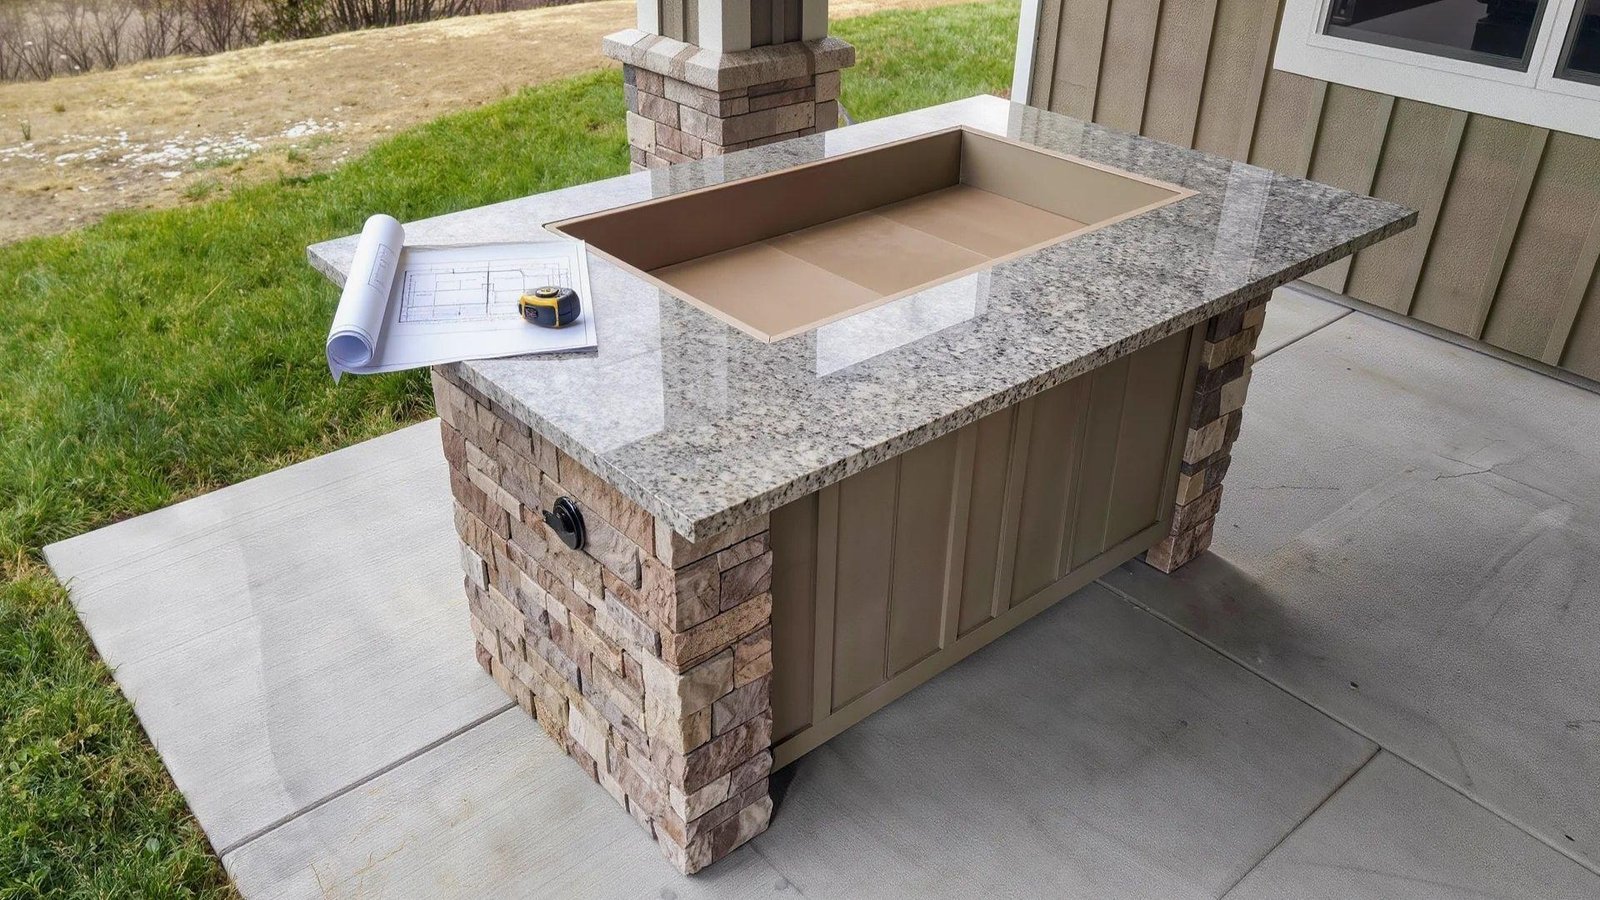
Before you cut anything, grab a downloadable blueprint or try a free online layout tool. You can map dimensions to the inch and drop in appliances before you ever touch lumber or stone. This is the step most people skip. It’s also the one that saves the most headaches later.
Linear / Straight-Run
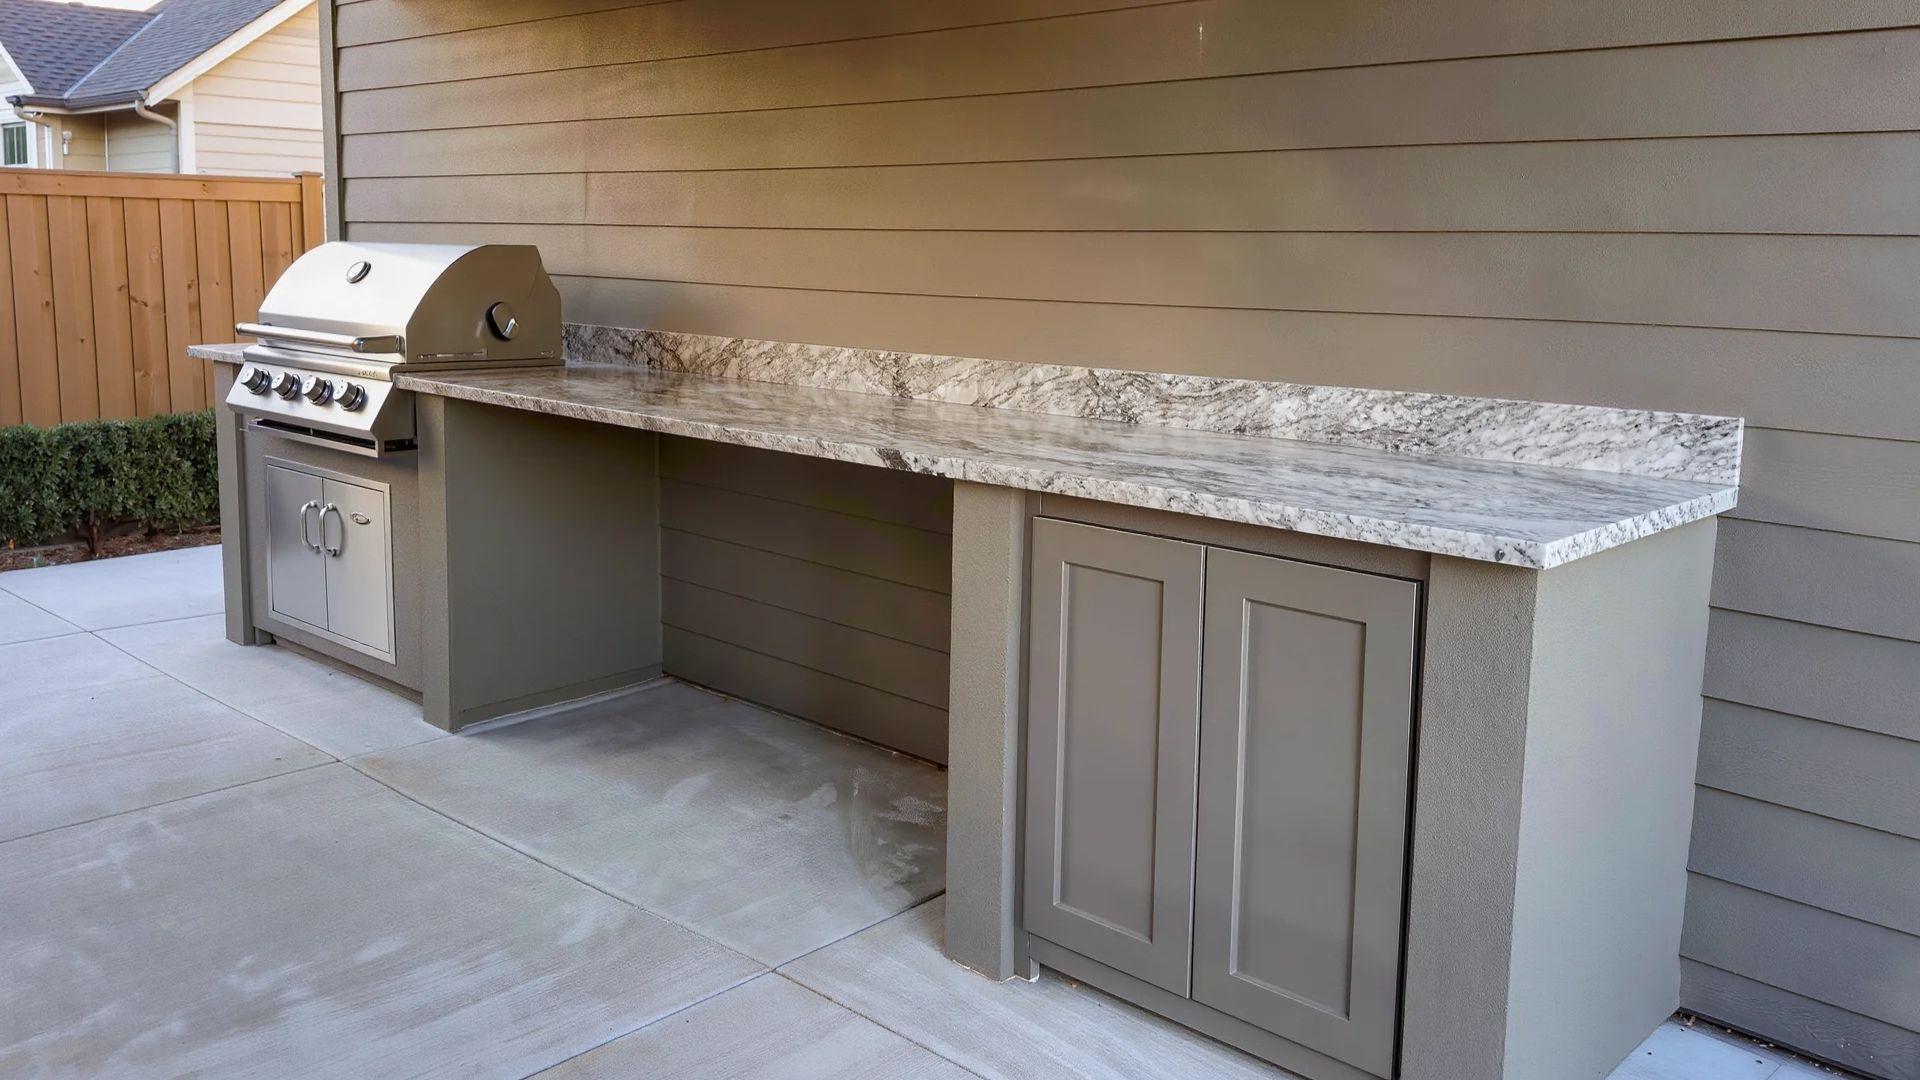
A linear layout puts everything, grill, counter, and storage, along one wall. It’s the go-to for small or narrow patios, where depth is tighter than width.
In my experience, you’re usually looking at 8 to 12 feet of counter run, enough for a grill, a decent stretch of prep space, and maybe a small storage cabinet tucked underneath.
Here’s the trade-off, and it’s a real one: zone count. There’s no room to separate cooking from prep the way the other shapes let you, so everything happens shoulder to shoulder.
That said, it’s the easiest and cheapest shape to build, and honestly, it’s the one I’d point a first-timer toward if the yard doesn’t give you much of a choice anyway.
L-Shaped
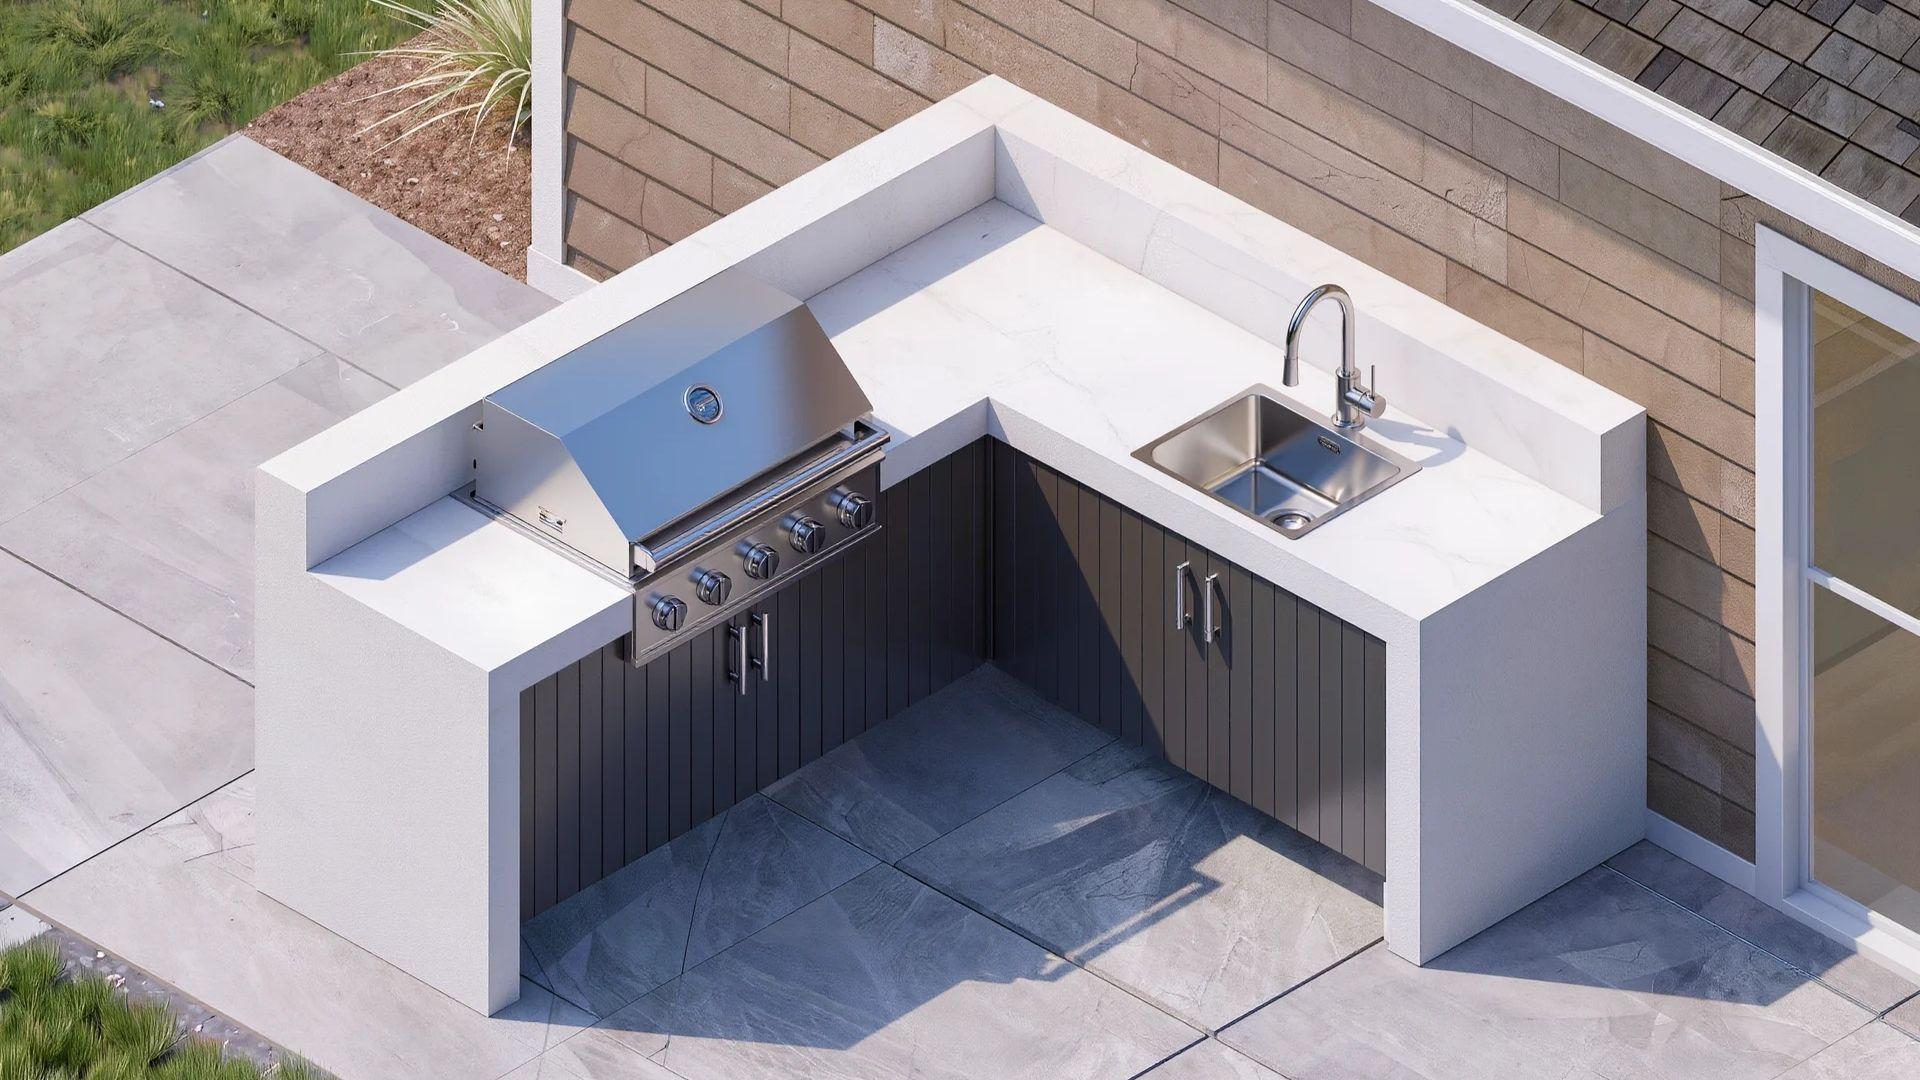
An L-shaped layout uses two walls that meet at a corner. This forms a natural work triangle between you and your prep area, and the open side gives guests room to stand without getting in your way.
This is the shape most people land on, and I get why. From what I’ve seen, it usually needs a corner footprint of around 8 by 6 feet minimum to fit a grill, a sink, and a decent stretch of counter without ever feeling cramped.
The corner joint does add a bit of build complexity, though, since you’re mitering countertop and framing a true 90-degree angle instead of just running a straight line.
U-Shaped or G-Shaped

A U- or G-shaped layout wraps counter around three or four sides. You get the most storage and room to run several appliances at once: grill, side burner, sink, fridge, even a pizza oven if the layout’s deep enough. It looks incredible when it’s done right.
But you need a deeper, wider yard for this one. I’d budget at least 10 by 10 feet of usable space, or it starts feeling boxed in fast.
The upside is real entertaining space built right in, since the open middle of the U turns into a natural gathering spot on its own.
The downside is cost and footprint. This is the most expensive shape to build, and it eats the most yard by far.
Galley

A galley layout runs two counters facing each other. I usually aim for 4 to 5 feet of walkway between them. It keeps your movements tight in a small footprint, the same way a ship’s kitchen is laid out.
It’s efficient for one cook, I’ll give it that, everything’s within arm’s reach on either side. But it doesn’t flex well for entertaining.
There’s no real space for guests to stand without blocking the walkway, so this shape works best as a dedicated cooking zone rather than a spot where people actually hang out.
How Do the Layouts and Build Methods Compare in Practice?
Layout shape decides your counter space and how many zones you can fit. Build method decides your cost, your timeline, and how much you can customize. Mixing these two decisions up is where most plans go sideways.
Layout Shape and Counter Space
I see this all the time: someone picks a U-shape because it looked incredible in a photo, then gets a gut punch when they find out what it actually costs to build one from nothing.
On the layout side, an L-shape keeps you just a few steps from the sink and grill, and guests still have the open leg to gather on without crowding you while you work.
A straight linear run lines everyone up along one wall, you and your guests both, with no real separation between the cooking and the hanging out.
U/G-shaped and galley layouts just have more linear footage to work with. That means you can usually fit all four zones, cooking, prep, fridge, and a bar area, without anything feeling crammed.
A linear layout, on the other hand, typically only has room for two or three zones before the counter runs out on you.
DIY vs. Modular Build Costs
Here’s how the two build methods actually stack up against each other:
| Build Method | Cost | Time & Skill | Customization |
| DIY framed or masonry | In my experience, roughly $5,000 to $15,000 for a mid-sized layout | Takes more skill and more time; you coordinate gas, water, and electrical work on your own | Full control over dimensions and finishes |
| Modular kit | Higher cost per linear foot, often $10,000 to $25,000 | Assembles fast; needs far less construction skill since the shell arrives pre-built | Less flexible once modules are ordered |
Note: These ranges are ballpark figures based on typical builds I’ve seen, not a formal industry benchmark.
Your actual number is going to move depending on appliances and finishes, but that gap between the two is exactly why I tell people to settle on a build method before they fall for a finish they can’t really afford.
So what does that mean for you, practically? A U-shaped layout built DIY is usually your most cost-effective way to get the max storage and zone capacity.
That same U-shape built from a modular kit goes up the fastest, sure, but it’s also the priciest version of that layout you’ll find.
What Conditions Should Change Your Layout and Plan Choice?
Your yard size, your must-have appliances, safety clearances, wind, and utility timing can all override the layout you had your heart set on. Outdoor spaces just don’t play by the same rules an indoor kitchen does.
Yard Size and Appliances

Say a U-shape looks perfect on paper. It’s only real if your yard actually has the depth for it.
Your appliance list narrows things further too. A built-in pizza oven, a side burner, and an under-counter fridge each eat their own footprint, and you genuinely cannot force all three into a layout that doesn’t have the room. Something has to give.
Safety Clearances and Wind
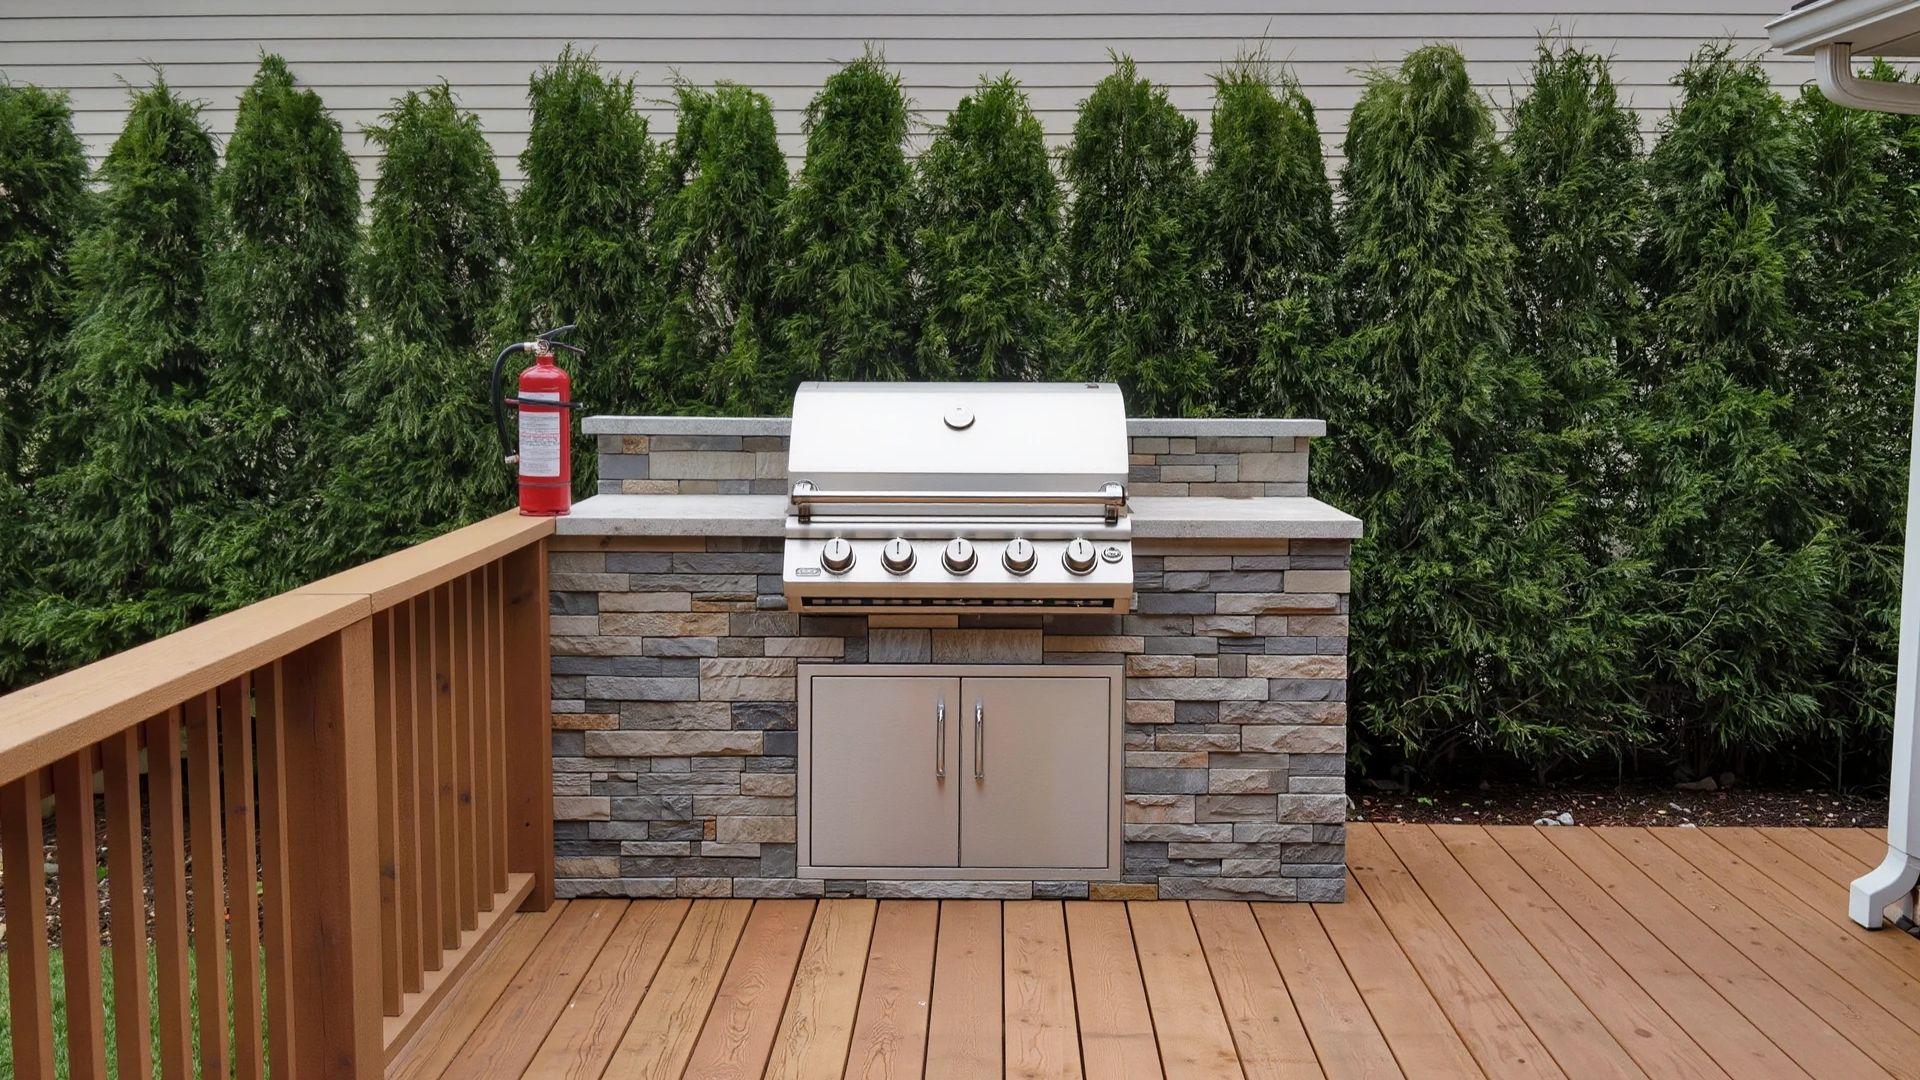
Safety clearances aren’t a suggestion. Keep your grill at least 10 feet from anything combustible, wood decking, siding, the house itself. That’s the standard the International Fire Code and NFPA both point to. Keep a fire extinguisher within reach of the cooking zone, always.
Wind gets mentioned everywhere online, but almost nobody actually tells you why it matters. Here’s the thing that catches people off guard: wind doesn’t just make cooking annoying.
It can blow a gas flame out mid-cook. It can push heat back against your control knobs long enough to overheat them. That’s a mechanical problem, not a mood killer.
A low backsplash behind the grill helps with this. So does a hedge row planted upwind of your cooking zone, which, as a bonus, looks lovely too. You need to decide on this at the same time as your layout, not tack it on once everything’s already built and you’re standing there wondering why your grill keeps going out.
Utility Sequencing
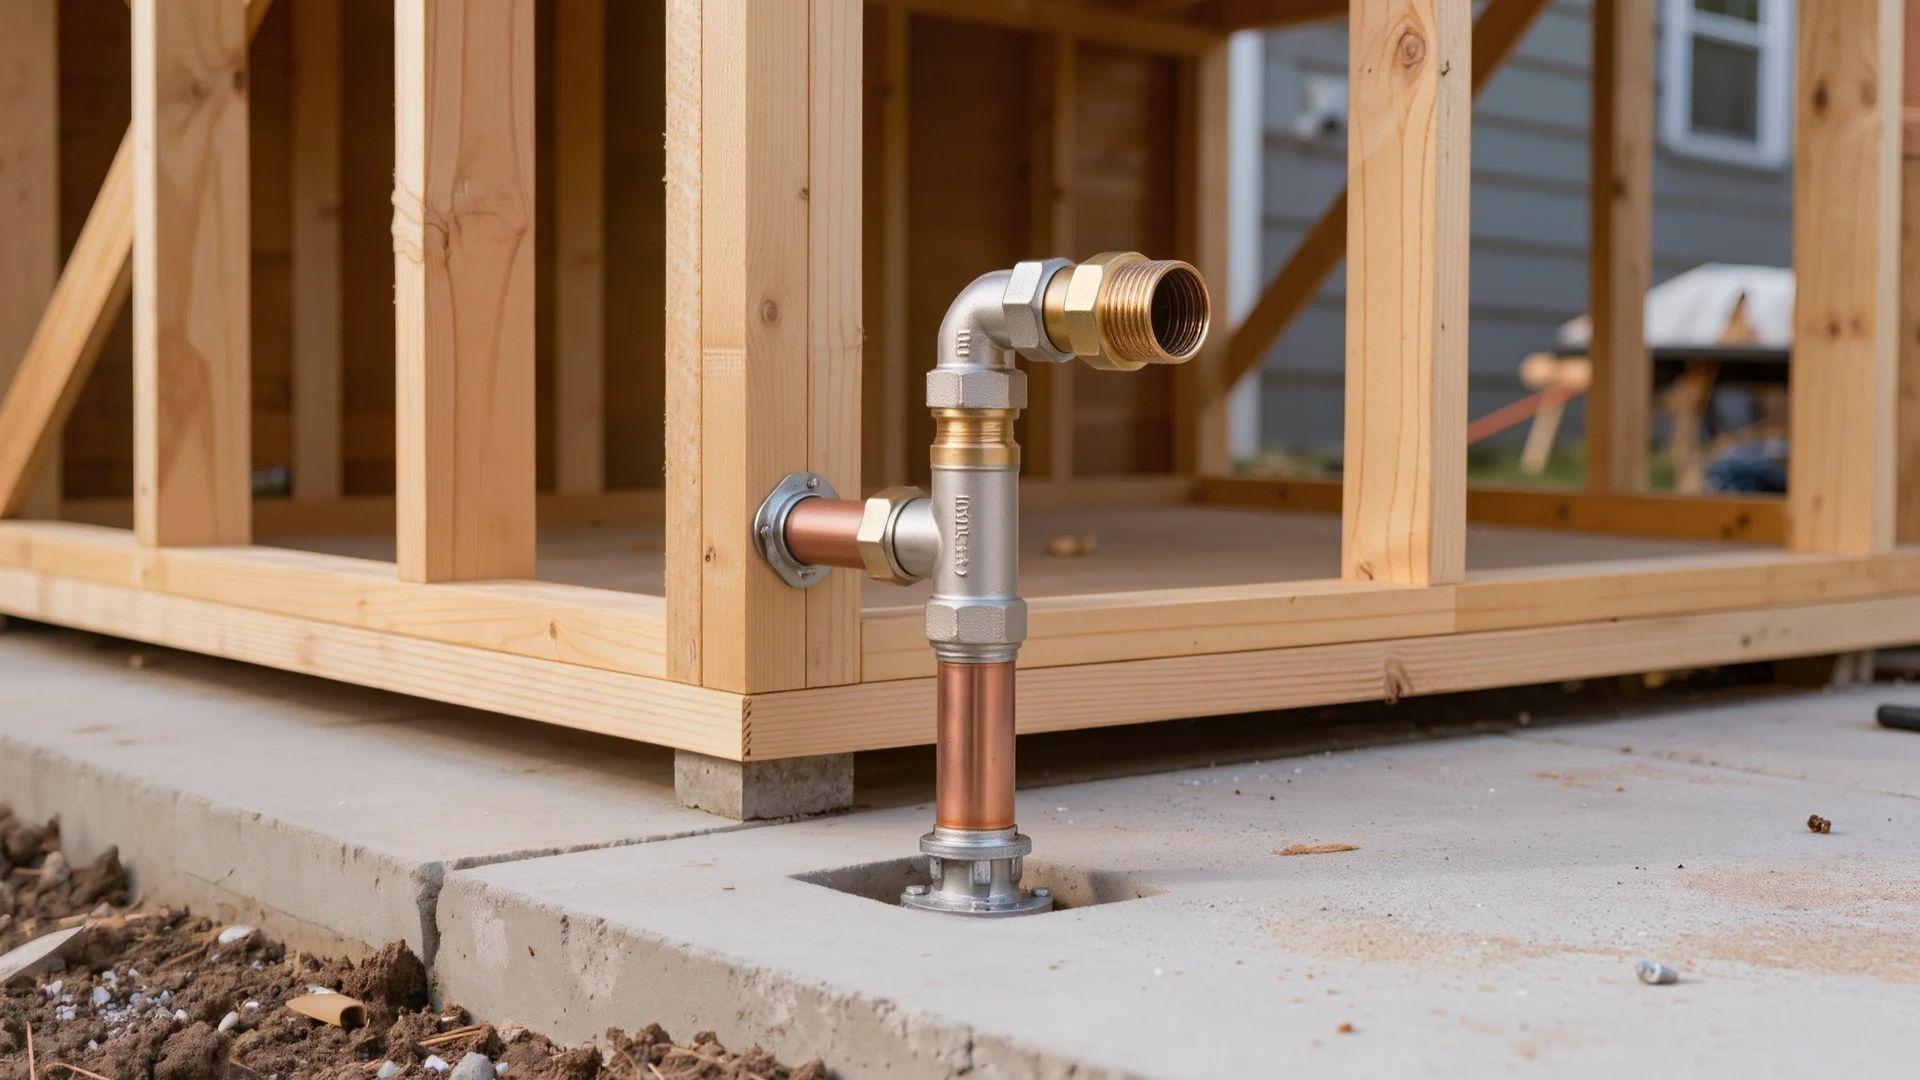
Now here’s the mistake that causes the most rework, and I’ve watched it wreck more builds than anything else on this list: picking appliances after the utility stub-ups are already in the ground.
Your gas line sits at a specific height and offset for your grill. Your sink’s plumbing stub depends on that sink’s exact model and drain position.
Change your appliance list after that rough-in work is done, and you’re usually cutting into a finished frame just to move a line. That costs so much more than just finalizing your list first would have.
Which Outdoor Kitchen Plan Should You Choose?
Here’s the short version: match your layout to your yard shape and appliances first. Then pick DIY or modular based on your budget and timeline.
Work through it in this order:
- Measure your footprint. A narrow yard points you toward linear or galley. A deeper, wider yard opens up L-shaped or U/G-shaped options.
- Lock your full appliance list. Include everything you actually want, not just what you need. This list drives every decision that comes after it. Skip this step, and you’re setting yourself up for the exact rework problem covered above.
- Choose DIY or modular. Weigh how much time you actually have, how comfortable you are with framing or masonry, and whether paying more for a faster, pre-built install is worth it to you.
- Schedule utility rough-in. Bring in a licensed professional for gas, water, and electrical before the island frame gets closed up. This step locks in everything you’ve decided so far.
- Do a final measurement check. A blueprint file or online design tool is worth one more look here, just to confirm measurements and appliance placement before anything gets cut or poured.
Wrapping Up
Getting your outdoor kitchen plan right was never about finding the most impressive layout out there. It’s about locking your decisions in the right order: yard shape first, appliances second, build method third, utilities last.
Follow that order, and your project moves in a straight line from design to finished build. Skip it, and you’ll be the one cutting into a closed-up frame because the appliance list changed too late.
Most of the expensive fixes in this kind of build come from decisions made out of order, not from a bad layout choice itself.
So go stand in that yard with your tape measure again, but this time, measure first and fall in love with the appliances second. Your future self, and your budget, will thank you for it.
Frequently Asked Questions
What is the most common outdoor kitchen layout?
The L-shaped layout. It fits most mid-sized patios, gives you a natural work triangle between the grill, prep area, and sink, and leaves open space for guests without crowding the cook.
How much space do I need for an outdoor kitchen?
It depends on your layout. A linear run fits narrow patios with just a few feet of counter. U- or G-shaped layouts need enough depth for counter on three or four sides. Either way, keep your grill about 10 feet from anything combustible.
Should I build a DIY outdoor kitchen or buy a modular kit?
DIY framed or masonry builds cost less in materials and give you full customization, but they take more time, skill, and utility coordination on your end. Modular kits go up faster with less customization, at a higher price. That’s better if your timeline is tight.
Do I need a professional for an outdoor kitchen build?
Yes, for the utilities. Have a licensed professional install your gas, plumbing, and electrical stub-ups based on your finalized appliance list, and get that done before the island frame is closed up. Skip this, and you risk misplaced connections and expensive rework later.